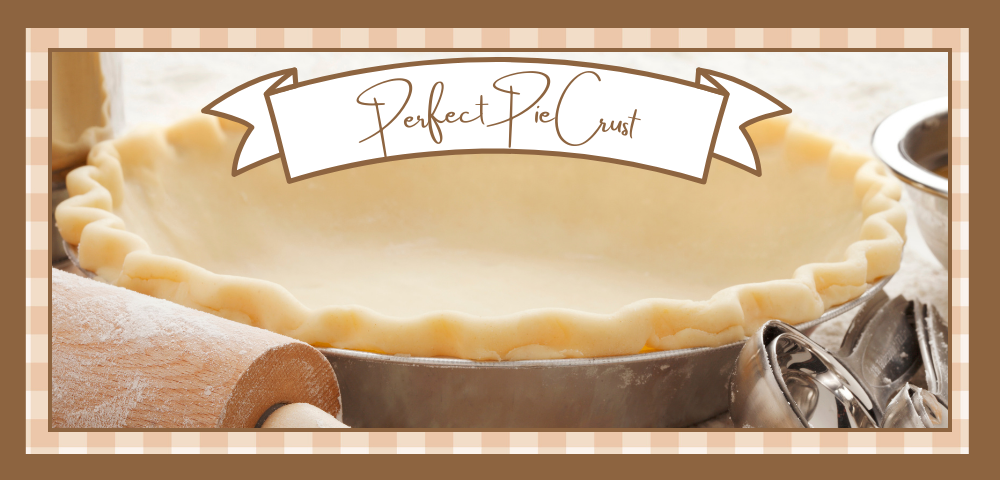
Sometimes you just need a single pie crust. Not all pies have a lid! This is especially true with Thanksgiving coming up – lots of pumpkin pies will be made!
For an alternative to traditional pumpkin pie, try this amazing Double Layer Pumpkin Cheesecake.
Instead of dividing a recipe for a double crust pie in half, we’ve found it’s much more effective to just make a single crust. Why? Because the bottom crust needs to be a bit larger than the top crust.
That means dividing a double crust recipe usually results in a bottom crust that’s too small. Or you divide it so you enough for the bottom crust, but the extra is only good for a lid. Now you need another bottom crust so you can use your lid – it can get kind of frustrating.
Given all that, if we’re making a single crust pie, like pumpkin, Dutch apple, lemon meringue, or even tomato, we use this recipe. We get the right amount of dough and there’s no waste and no frustration. Yay!
It’s a quick process, too. Minus the chilling time, you can have your dough ready in 10-15 minutes.
Keep it Cold
To be as efficient as possible, I like to cube the shortening and butter and pop them in the freezer for an hour before getting started. That ensures they’re nice and cold, which is critical for pie crust dough. And by cubing them first, I’m not handling them too much right before I use them (which can warm them up).
I also leave the butter and shortening in the freezer right up until I’m ready to add them to the food processor. Again, this helps keep them as cold as possible.
Use a Food Processor
The actual dough making process is pretty simple. Pulse the flour and salt in a food processor to combine it. Add the butter and shortening and pulse till it resembles small peas. Then add the ice water and pulse a few times till it starts coming together.
Next, you’ll dump it onto a lightly floured surface to knead a few times. You’re just bringing the dough together so you can shape it into a nice flat disk.
Have Ice Water Handy
At this point, if your dough seems too dry to shape (i.e. you have a lot of crumbly bits that just won’t stick together), try spraying some ice water on the dry parts. I usually have a spray bottle with ice water in it just in case, and I’ll lightly mist the dry areas to help things along.
Chill!
Once you have your disk ready, wrap it in plastic wrap and place it in the refrigerator to chill for at least two hours and up to two days.
When you’re ready to use it, remove it from the refrigerator and let it sit at room temperature for several minutes. This will help make it easier to roll out.
Tip: To get the right size crust every time, consider a silicone mat with disk sizes printed on it. I LOVE the one I purchased on Amazon and use it every time I make a pie crust.
This post contains affiliate links. For details, please see our Privacy Policy.

Single Pie Crust Recipe
Ingredients
- 1½ cups all-purpose flour
- ½ tsp. salt
- 6 tbsp. unsalted butter, very cold and cubed
- 2 tbsp. shortening, very cold and cubed freeze for an hour before using
- 3 to 4 tbsp. ice water
Instructions
Making the dough
- Add flour and salt to a food processor and give it a few pulses to mix it together. Add the butter and shortening and pulse a few more times until the mixture resembles small peas. Sprinkle 3 tablespoons of the ice water over the mixture and pulse just until the dough starts to clump together.
- At this point, remove the dough to a floured work surface and knead it to bring it together into a ball. If it's a bit crumbly, add more ice water – about one teaspoon at a time – until the dough comes together in a nice, smooth ball. (You can also add ice water to a spray bottle and spritz the dry areas with it.) Be careful not to handle the dough too much. Doing so will warm it up and make it tough. You shouldn't have to knead it more than a few times. It's okay if there are small chunks and streaks of butter when you're done – that will make it flaky!
- Flatten the dough ball it into a disk and smooth the edges. Wrap it in plastic wrap, and chill for at least 2 hours or up to 2 days, till ready to use.
Rolling and forming the crust
- Once your dough is chilled, remove it from the refrigerator and allow it to sit on the counter for a few minutes. This can help make it easier to roll out. Just don't let it sit too long – you don't want it to warm up.
- Flour your work surface and rolling pin to keep the dough from sticking. You can also flour both sides of the dough and place the dough between sheets of plastic wrap for rolling. We've found that method works really well.
- Using your rolling pin, roll the dough into a 12-inch circle for standard 9-inch pie plates, or a 13 to 14-inch circle for deep dish pie plates. (My pie plate is 9.5 inches in diameter and 2 inches deep, and I can just squeak by with a 13-inch disk.)
- Place the rolled dough in your pie plate and gently press it along the bottom edges and up the sides. Fold the dough under along the rim and crimp it to form the edge of your crust. If you have excess hanging over, just trim it off with kitchen shears or a sharp knife. I usually have about a ½-inch hanging over to work with.
- Put the pie plate into the refrigerator for at least 30 minutes to chill. This helps the butter to firm up again, which is essential for a flaky crust.
Baking the crust
- While the dough chills, preheat your oven to 375℉. Then cut a section of parchment paper to line your crust for baking. Crumble the parchment up and smooth it back out. Crumbling it up makes it easier to fit the parchment into your pie plate.
- After the dough has chilled, remove it from the refrigerator and line it with the parchment paper. Then add pie weights or dry beans on top of the parchment, moving them into the corners to keep everything evenly weighted and flat.
- Bake the crust for 14-16 minutes. Remove it from the over and carefully remove the parchment paper and weights. Then prick the bottom of the crust all over with the tines of a fork. (This prevents the crust from puffing up and creating an uneven surface).
- Return the crust to the oven and, depending on your needs, bake for another 15-18 minutes for a fully baked crust, or 7-10 minutes for a partially baked crust. A fully baked crust will be lightly golden brown all over. A parbaked crust will have just a hint of browning on the bottom.
- Once done, go forth with your recipe and enjoy your delicious pie!