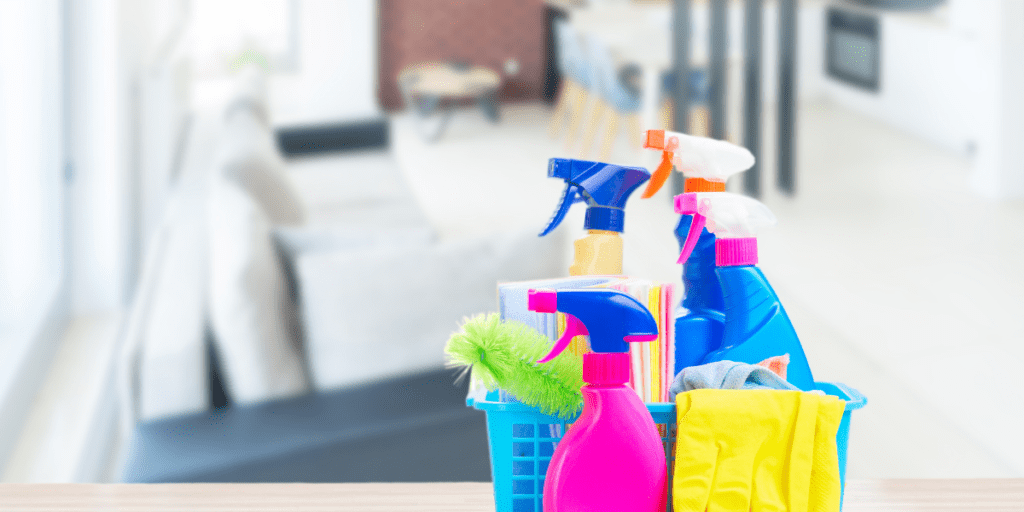
With spring in full bloom, it’s time to breathe some new life into our homes. After being closed up for the winter months, air becomes stale, and things can get kind of grimy. At our house, all of those trips in and out for firewood sends dirt into places you wouldn’t imagine. Not to mention two dogs who shed year-round!
To ensure maximum productivity, we’ve assembled our top tips for refreshing your space this spring. It’s by no means comprehensive, but it highlights easy-to-overlook areas that can make a big difference. Whether you plan to tackle everything in a weekend or spread it out over several days, these tips are sure to help.
For more tips, check out our post on cleaning your house fast.
Tip 1: Go green
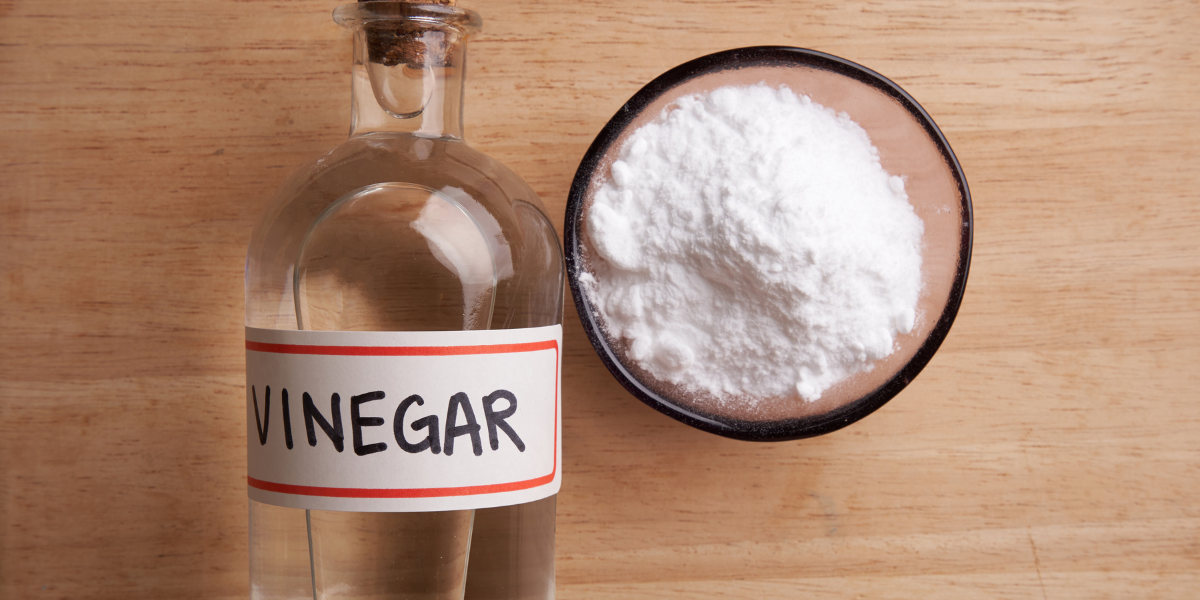
Not only are eco-friendly cleaners better for you and the environment, they’re usually less expensive, too. White vinegar and baking soda reign supreme for green cleaning. A gallon of warm water mixed with a squirt of dish soap and ½ cup of white vinegar cleans more than you can imagine. Think tile, wood floors and furniture, windows and screens, and even appliance surfaces.
A little baking soda mixed with water makes an abrasive cleaner gentle enough for removing stains and buildup from porcelain and ceramics.
Tip 2: Invest in a squeegee
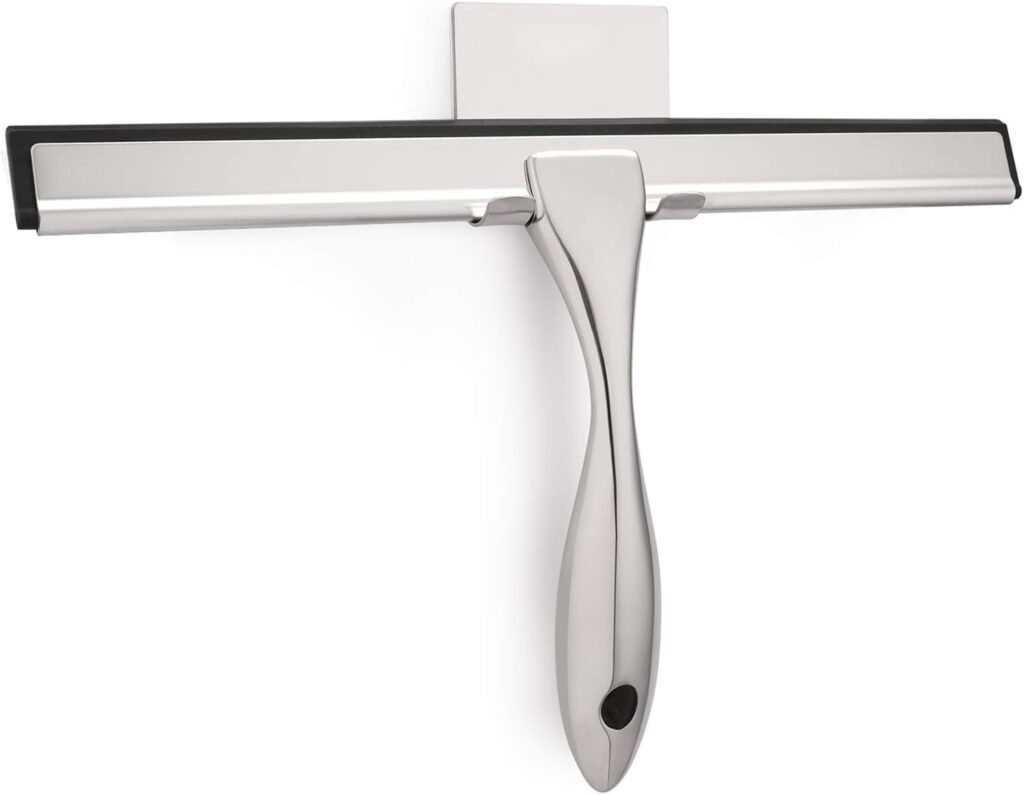
This is a must, especially if you have glass shower doors. We squeegee the glass surround and marble walls in our shower every time we use it. I cannot tell you how much that little bit of effort saves me in cleaning time down the road. It takes maybe one minute, and the result is amazing.
Squeegees make for streak-free surfaces. Get a separate one for cleaning windows and follow things up with a swipe from a lint-free cloth (we like flour sack towels). Perfection.
Tip 3: Replace vacuum bags and filters
Do this today if you haven’t already! Changing bags and filters regularly reduces dust and allergens in the air. It also helps keep your vacuum running correctly.
Time for a new vacuum? Consider one with hepa filters – they trap the most dust and dirt.
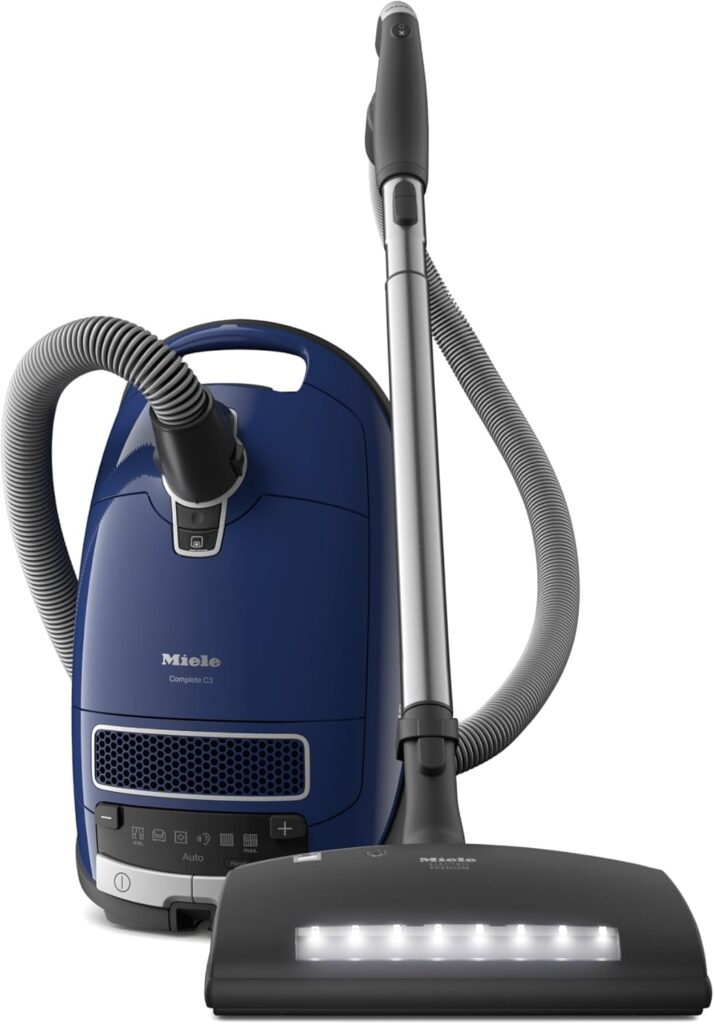
We use the Miele Complete C3 canister vacuum and absolutely LOVE it. I never have issues with dust escaping from it. And on the right setting, it could suck the nails out of our floorboards. It has loads of power options and attachments for all kinds of chores. I kind of wonder how I survived without it.
The only downside is that it’s expensive. But, if you’re willing to make the investment, it’s worth every penny. Ours is going on 10 years old and it’s still runs like a dream.
Tip 4: Vacuum drawers and cabinets
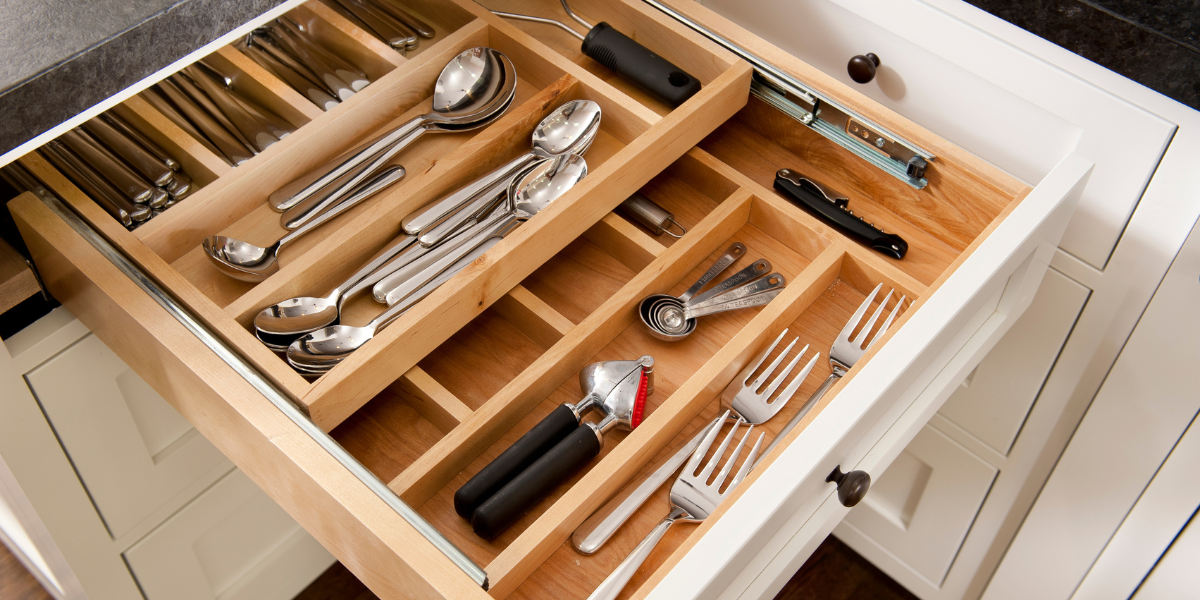
We’ve all done it: opened a drawer and seen crumbs and whatnot littered about. (Where does it all come from?) Now’s the time to plug in the vacuum and suck that stuff out!
Remember to remove drawer and cabinet contents first. You don’t want to accidentally vacuum up your forks and knives.
Give everything a wipe down post-vacuuming and you’re all set.
Tip 5: Clean stained coffee cups

I literally just finished doing this and it was so quick and easy. Coffee cups get stained easily, especially if you walk around with a cup all morning like I do.
Make a paste with a sprinkle of baking soda and a little warm water in the cup. Let it sit for a few minutes, then give it a light scrub. Rinse and voila, clean cup.
Tip 6: Clean out the fridge
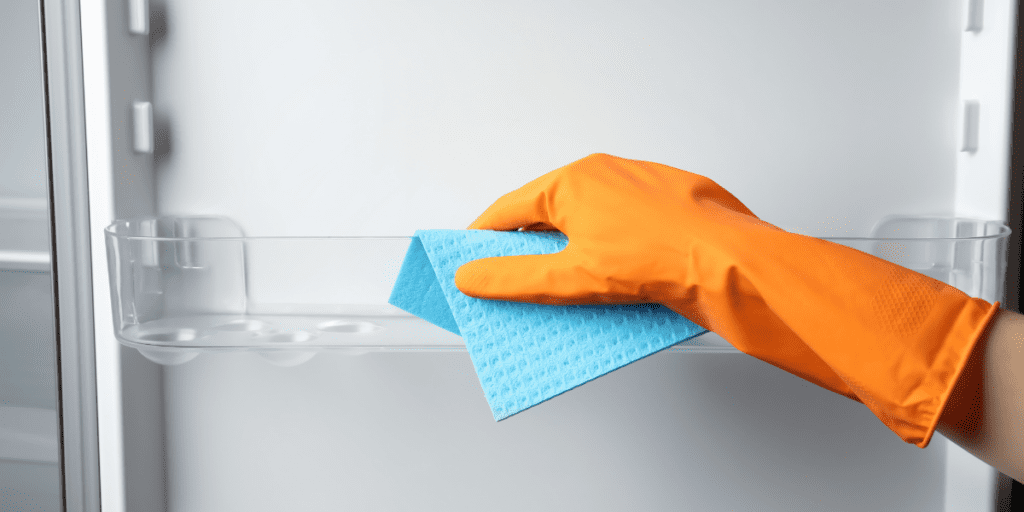
A necessary evil, I know, but a clean refrigerator is important. You store food in that big box, so it needs to be clean and sanitary. Wipe shelves and bins with warm water and a squirt of dish soap; add a little white vinegar to help with any stubborn spots.
Dry them with a cotton kitchen towel or other lint-free cloth. Don’t forget to clean the rubber gasket that keeps things sealed up nice and tight. An old toothbrush can help get into the grooves to remove debris.
Give the exterior a wipe down, too. If your refrigerator is stainless steel, follow the manufacturer’s instructions for cleaning. Otherwise, just use mild detergent mixed with water and be sure to dry them to reduce streaking.
Tip 7: Wash window screens
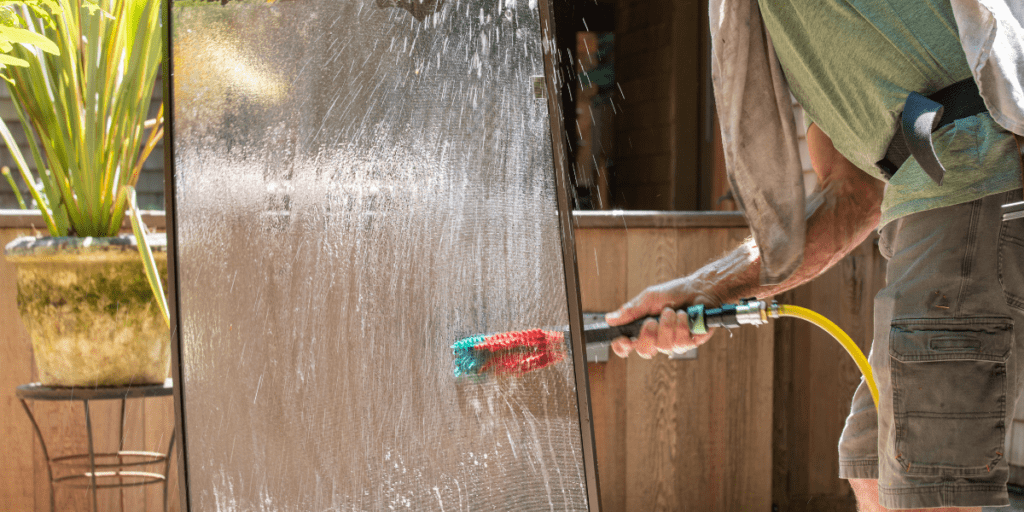
One of my most unfavorite chores, but I’m always glad when I do it. Window screens trap lots of dirt, dust, and pollen each season. Ensuring all that nastiness is removed before opening your windows prevents gunk from flying into your house with the first stiff breeze.
Take screens outside to a patio, driveway, or other open space. (Doing this on a paved surface helps keep things a bit tidier.) Rinse screens with a hose using a nozzle attachment to remove loose dirt. Mix up a bucket of warm water and mild dish detergent. Using a soft-bristled brush, gently scrub both sides of the screen with the soapy water. Rinse again to remove soap and debris and let dry.
With the screens out, wipe down the window frames. We usually need to sweep out the lady bugs that have collected and then give things a wash before installing the screens. Yay! Ready for fresh air.
Tip 8: Wash windows
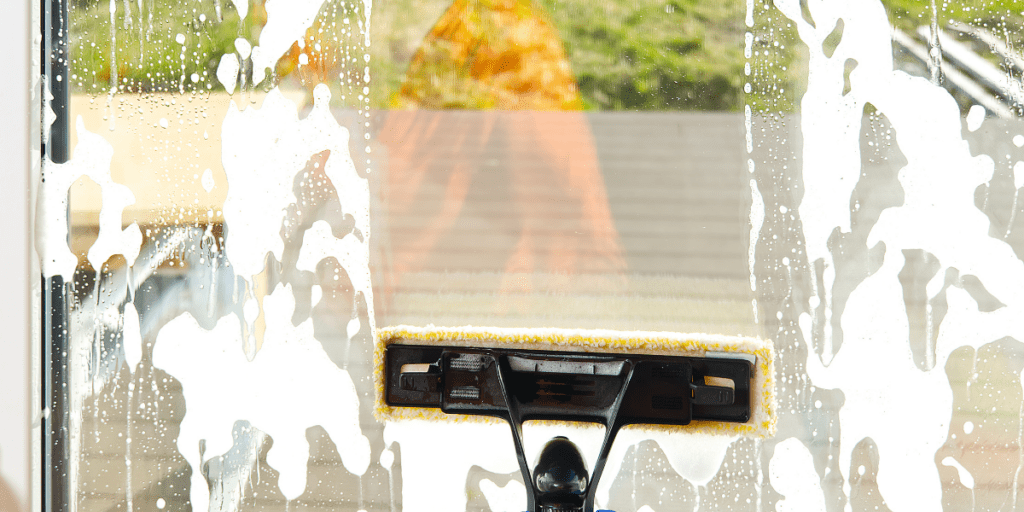
And while we’re in the vicinity of windows, it’s time to give them a wash, too. Mix up that versatile water, vinegar, dish soap solution outlined in Step 1, grab your squeegee, and get busy! Wash windows (inside and out) using a microfiber cloth or an old washcloth. Squeegee the solution off and then wipe any residual water with a lint-free cloth.
If you don’t have a squeegee, drying the windows with a lint-free cloth or even crumpled up newspaper works great.
Tip 9: Banish the cobwebs

Our favorite tool for this job is a microfiber duster with an extension handle. This is especially good if you have high ceilings. It makes cobweb removal a snap and it’s faster and safer than climbing a ladder. Focus on corners and anything suspended up high like light fixtures and artwork. We also like to run our duster along the tops of window frames for a quick dusting.
Tip 10: Clean area rugs & carpet
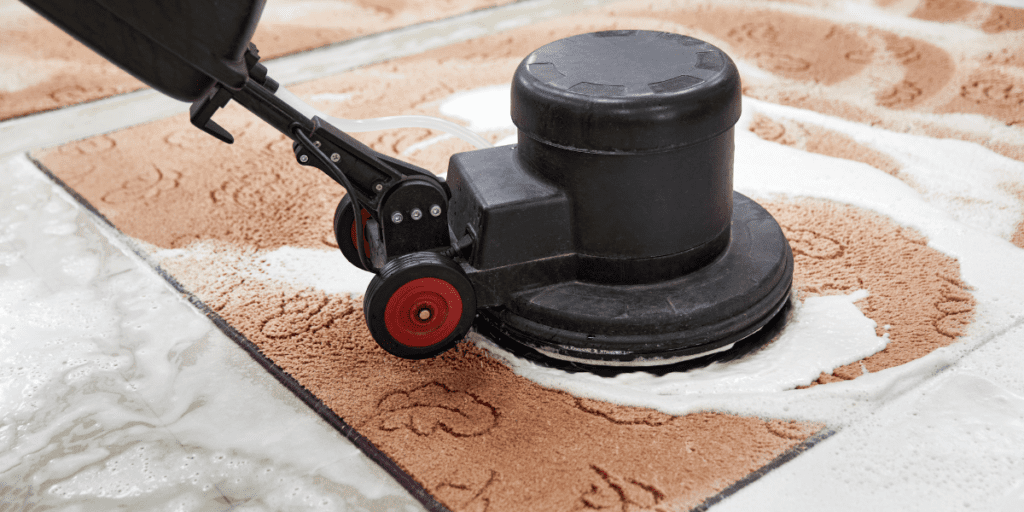
How you clean your area rugs depends on size and location. Small rugs should be shaken out and washed, if possible. Entryway mats can be quite heavy, so sweeping them off and/or vacuuming is typically the way to go. If you can lift them for good shake, then go for it.
We have one on the enclosed porch leading into our mudroom. It is so heavy! If I’m feeling strong, I pull it outside, hang it on the fence, and beat it senseless. On other days, I vacuum it with a shop vac.
Examine indoor area rugs to determine whether they need a professional cleaning, which is usually the case for wall-to-wall carpeting. We have a number of seagrass area rugs, and we’re diligent about keeping them vacuumed and spot cleaned. We do need to clean under them from time to time. Dirt finds its way through the fibers and around the padding underneath, which can scratch hardwood floors.
Follow these tips and your home will be summer-ready in no time. There’s nothing like sunshine, fresh air, and bare feet on clean floors. Hello, warm weather!
As an Amazon Associate, I earn from qualifying purchases.
