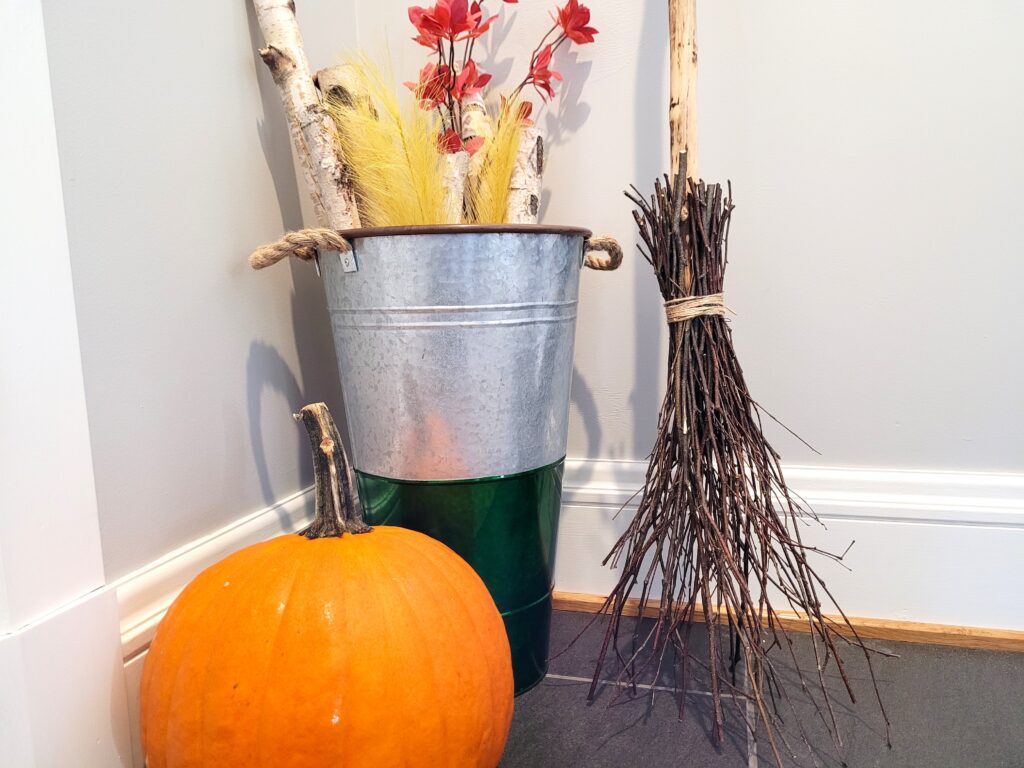
Today is Halloween, but don’t fret if you haven’t been able to pull off a full-on decorating extravaganza. There’s still time to whip up some decor to show your holiday “spirit”! This DIY witch broom is one of my favorites to craft at home.
It’s cheap and easy and it looks great! I love when I get to go shopping for materials in my own backyard. Granted, my yard is pretty big, so I have a lot to choose from, but all you need is a tree branch, twigs, craft wire, and twine for this DIY project.
Discover more Halloween inspiration with these 13 awesome ideas for decorating outside.
Step 1 – Gather the Materials
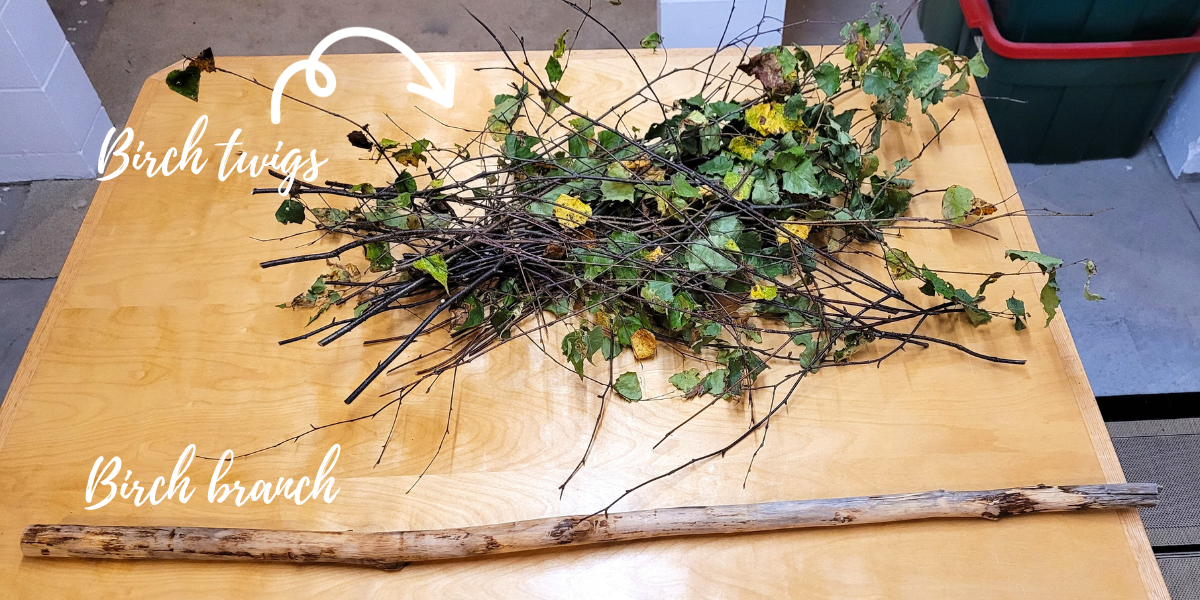
I started with a branch I had from a few years ago. You’ll want one that’s about an inch in diameter and about four feet long. The one shown above was from a birch tree on our property. I had stripped it of any remaining bark, so it was fairly smooth, and opted to leave it natural versus painting it. I think the variations in color add to the authenticity, as does the slight bend.
Then I clipped a number of twigs to use for broom bristles. The twigs also came from a birch tree, and because they were still green inside, they’re less likely to break than dry twigs.
Step 2 – Remove Any Leaves
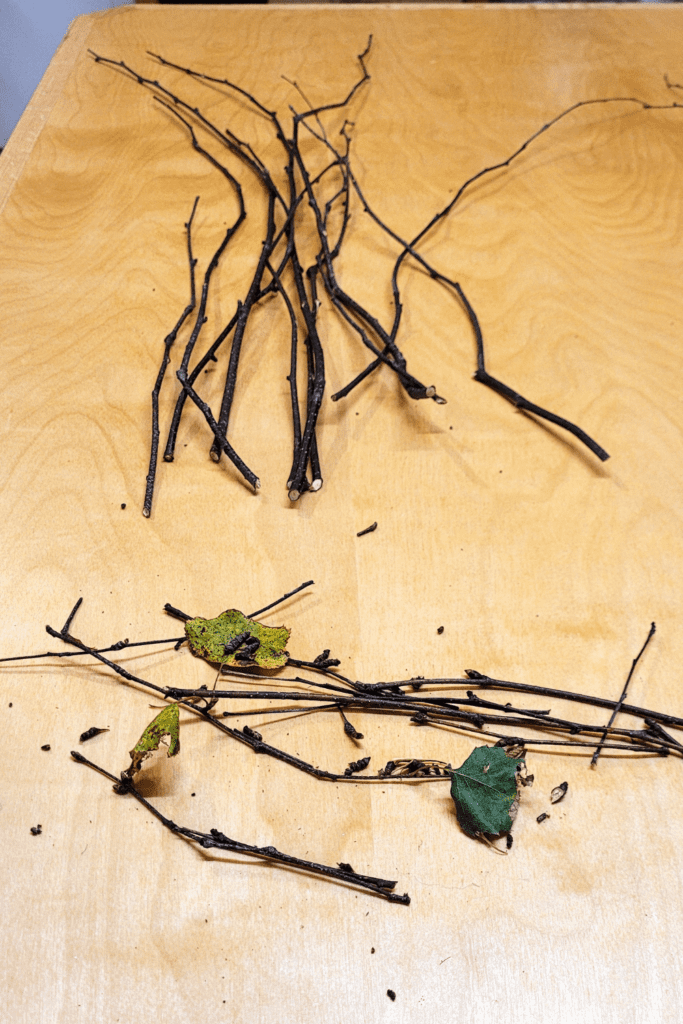
Next, I stripped the leaves from the twigs. They come off easily, so I could do this with my hands – no special tools needed. I also clipped any broken pieces and removed any big nubs that might catch on other twigs and make things more difficult to arrange.
Step 3 – Cut the Twigs to Size
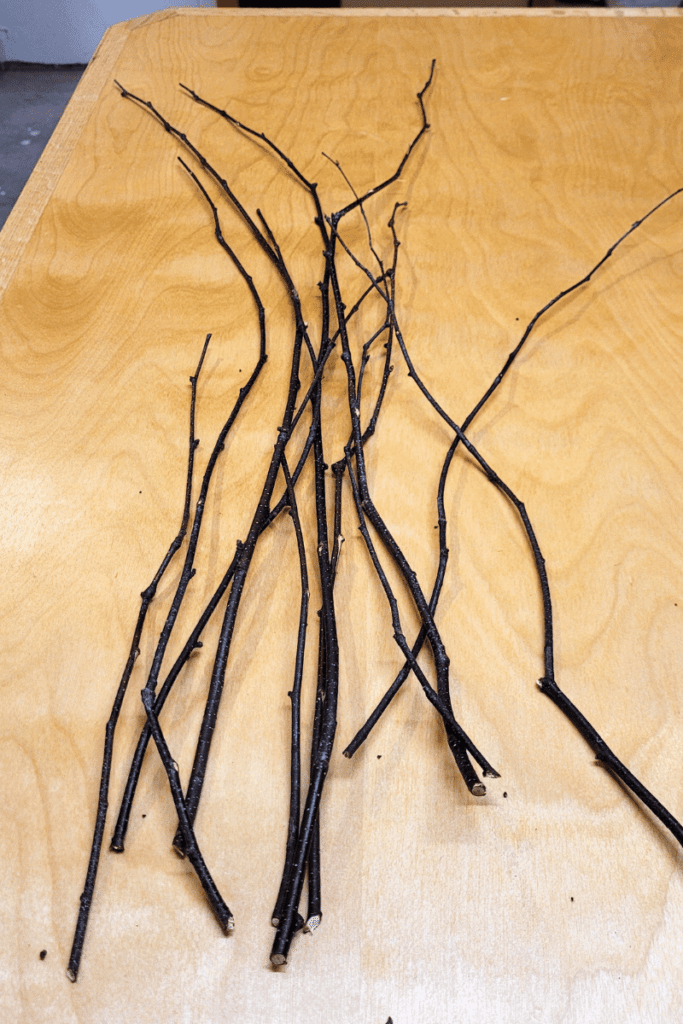
Once I had the twigs prepped, I cut them to size using pruning shears to about 20 inches in length. It’s not important that they’re perfect, but just generally the same length.
Step 4 – Attach the Twigs
Then I gathered the twigs into four bundles that I secured with craft wire – apologies that I stopped taking photos at this time. I didn’t have enough hands to craft and photograph! I added one bundle at a time to the broom handle, wiring each one on till I had mostly covered the base of the broom. I left about five inches branches sticking above the point where I wired them on.
Once the primary bundles were attached, I started filling in the gaps with extra twigs. I just held the extras in place and wrapped additional craft wire around them super tight so they would stay put.
Step 5 – Add Some Twine
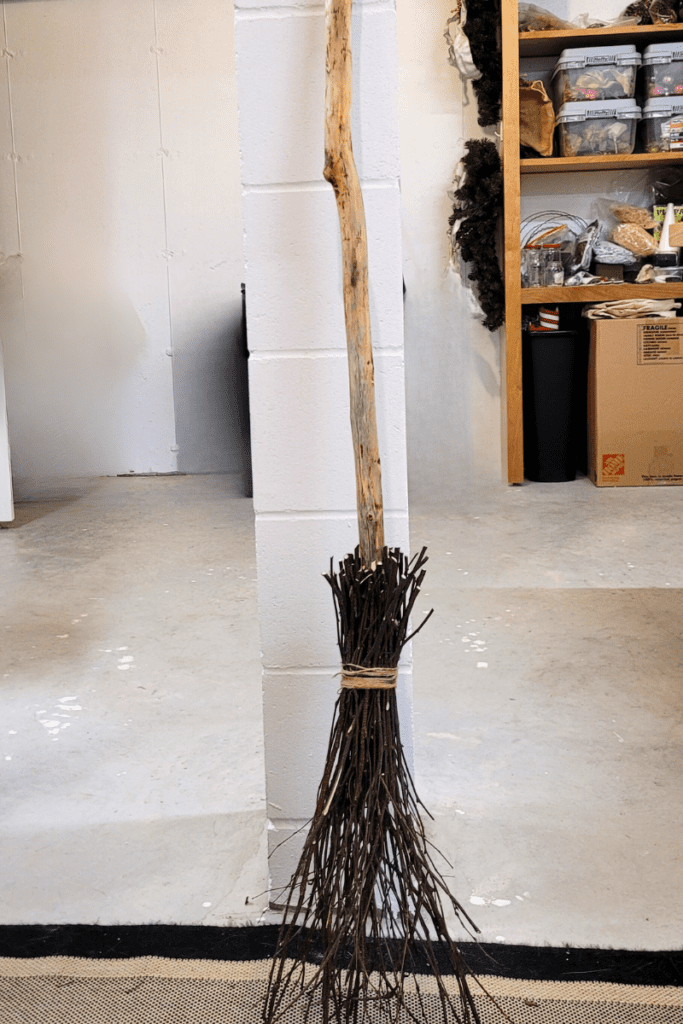
Then I grabbed a ball of twine and wrapped it around the craft wire for a finishing touch. To make the twine treatment look super neat, you can add a dab of hot glue to keep any stray ends in place. I was okay with just tying mine for this broom, as I wanted a scratchy, rustic look.
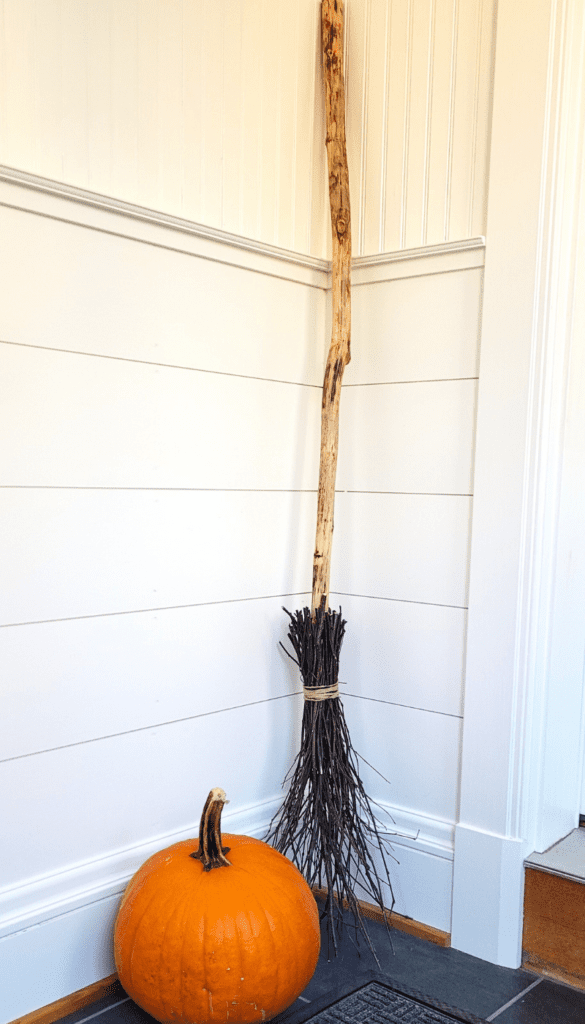
And there you have it: one DIY witch broom ready to rock Halloween!
