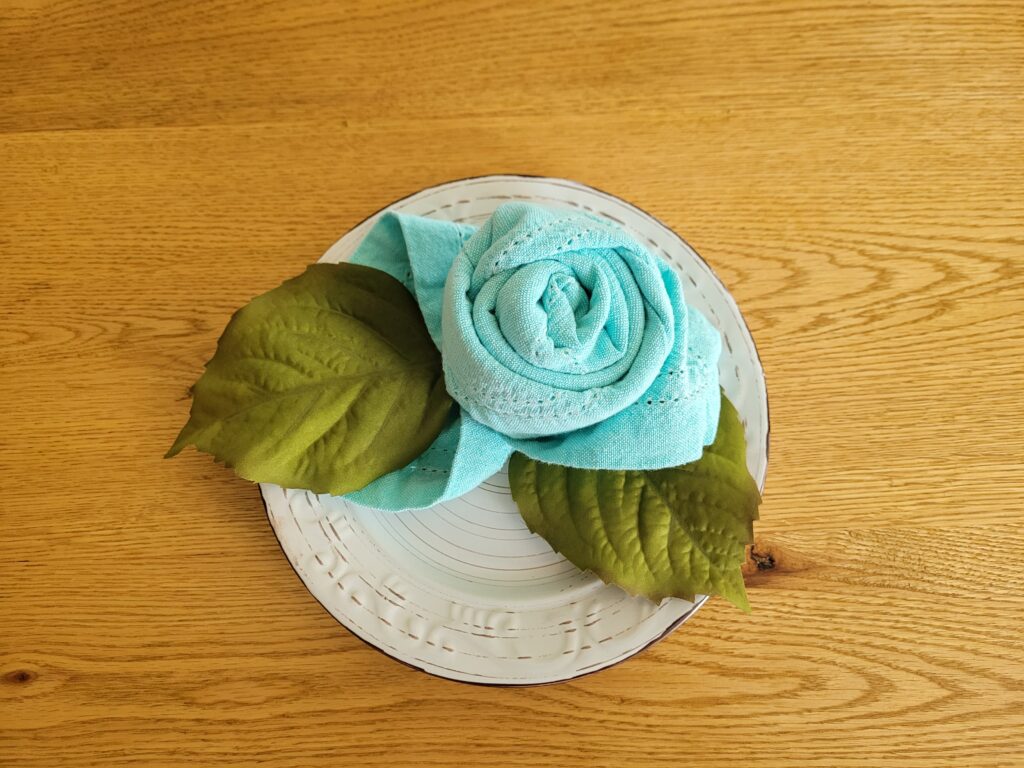
To make a table setting extra special, consider making your napkins into beautiful roses. It’s super easy and adds a sweet flair to your tablescape.
We love this idea for Easter, Mother’s Day, bridal showers, baby showers, and birthdays. Pair them with delicate china and ruffled chargers for a girly-girl vibe. Or mix them with more rustic elements like burlap and stoneware for a feminine spin on the farmhouse look.
Just about any cloth napkin will do, though we’re partial to cotton and linen. We used a 20×20-inch cotton napkin in the example below. The bigger the napkin, the bigger the rose, so you may want to try a few out. Have fun with colors and prints to best complement your style!
Here’s how to do it:
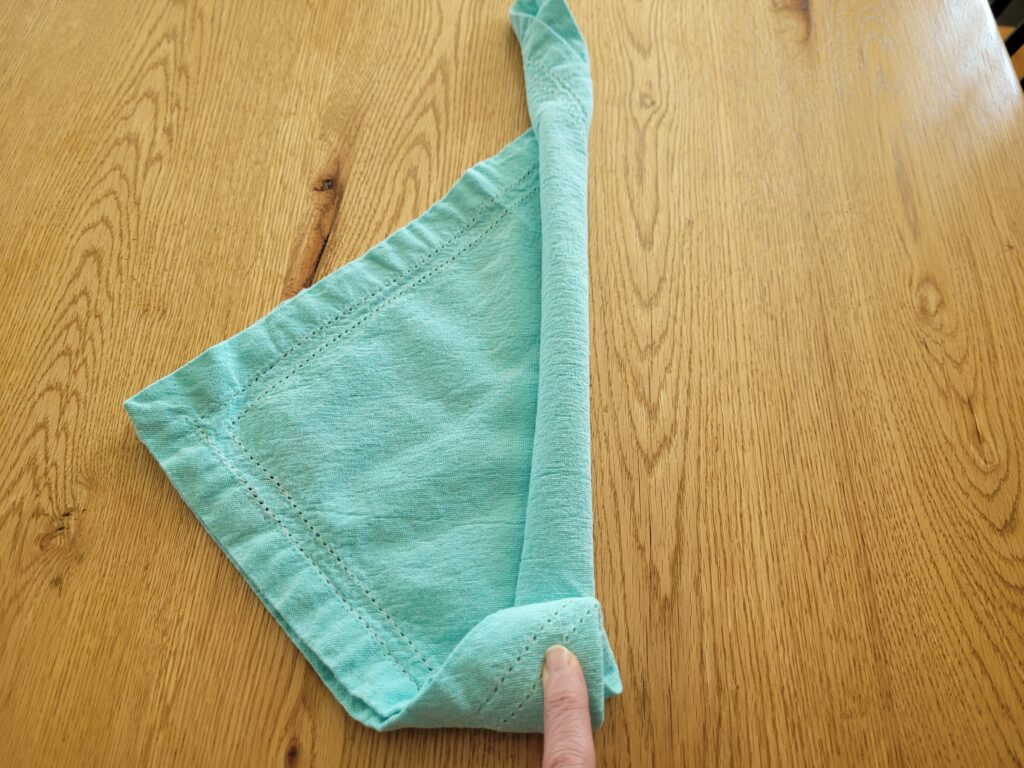
Step 1: Fold the napkin in half like a triangle.
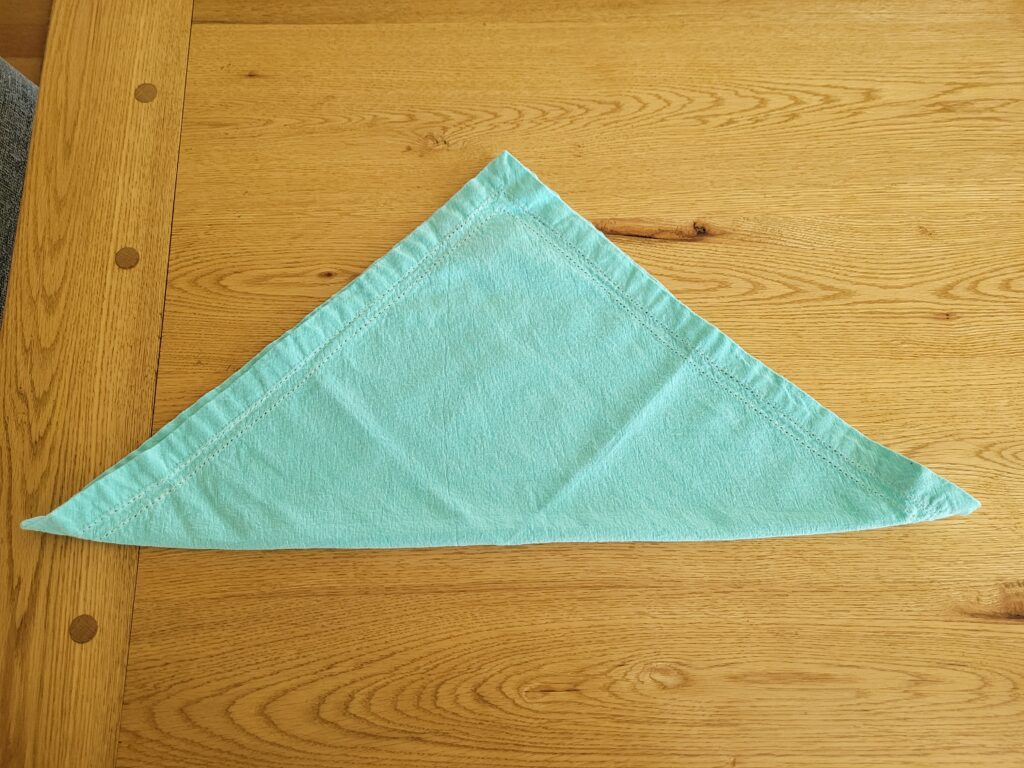
Step 2: Starting from the long side, roll the napkin away from you to about the halfway point.
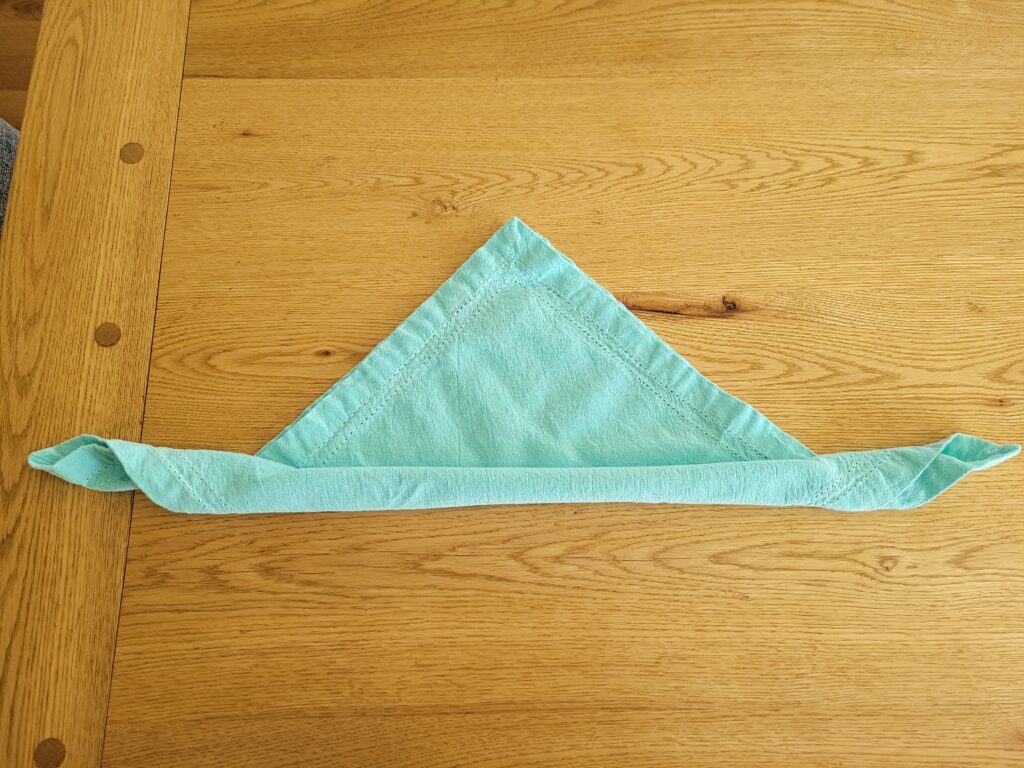
Step 3: Turn the napkin so the long side you just rolled is perpendicular to your body.
Fold the end in and roll it away from you, leaving a few inches at the end.
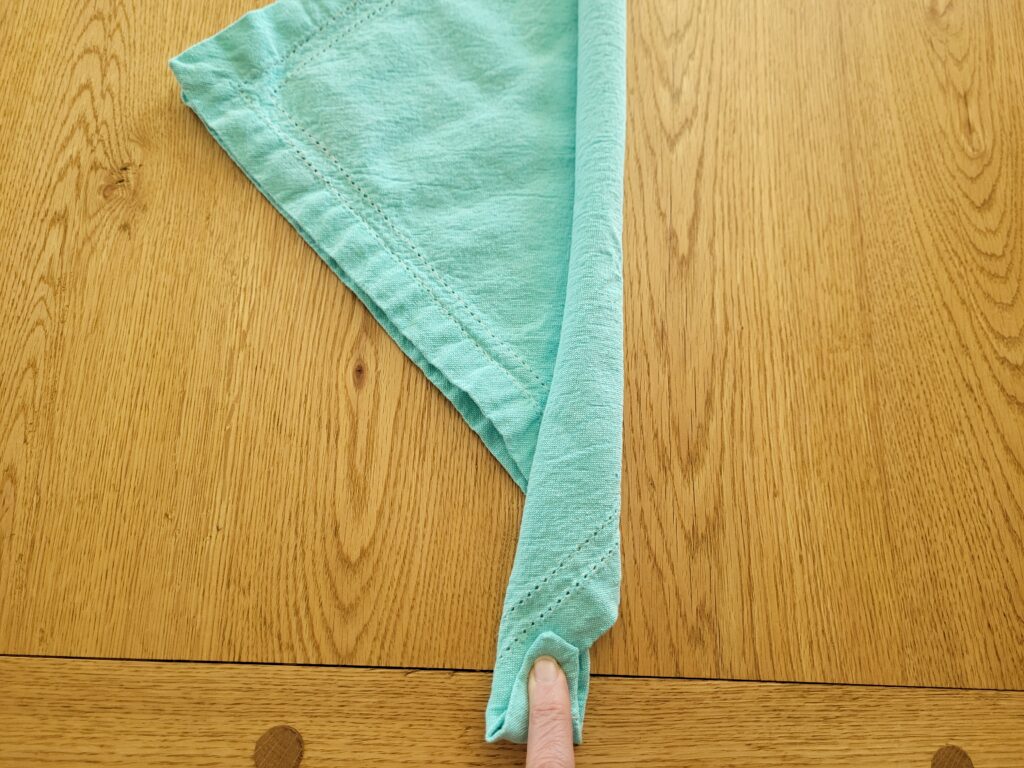
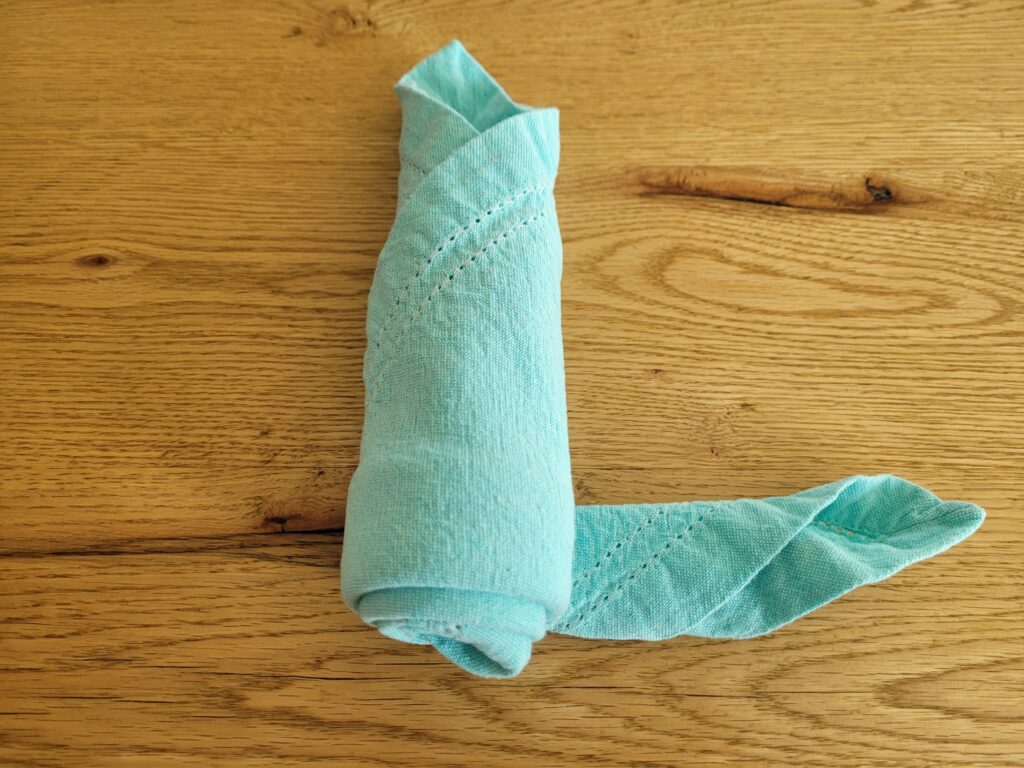
Step 4: Tuck the tail into the outside “petal” of the rolled up rose.
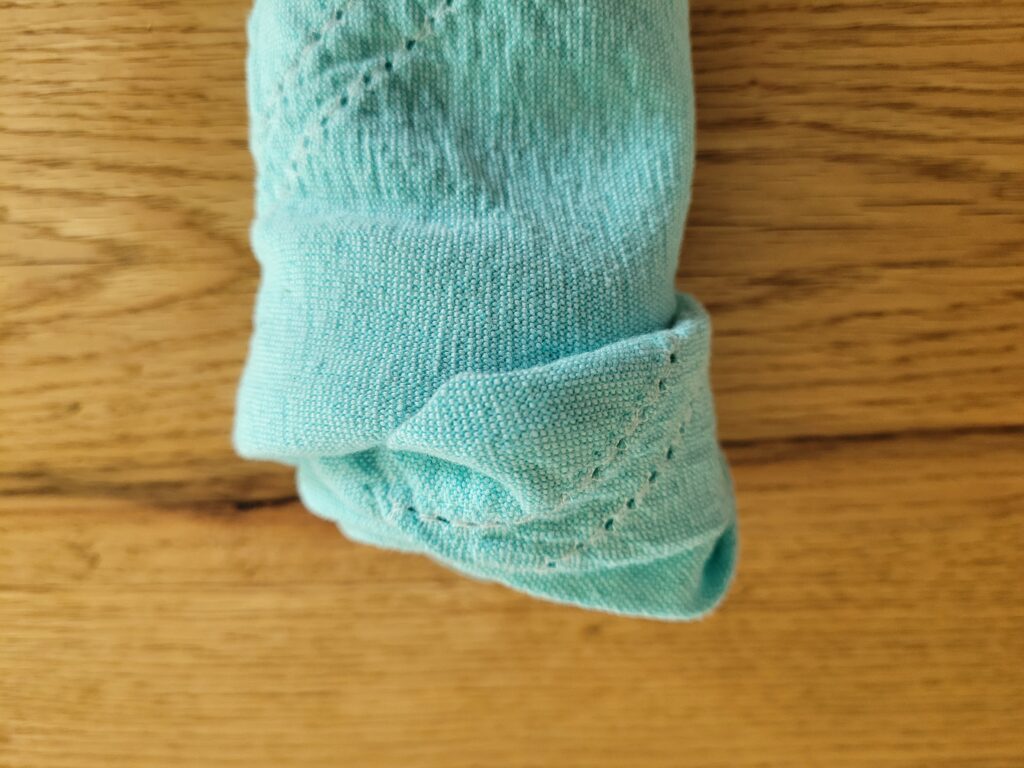
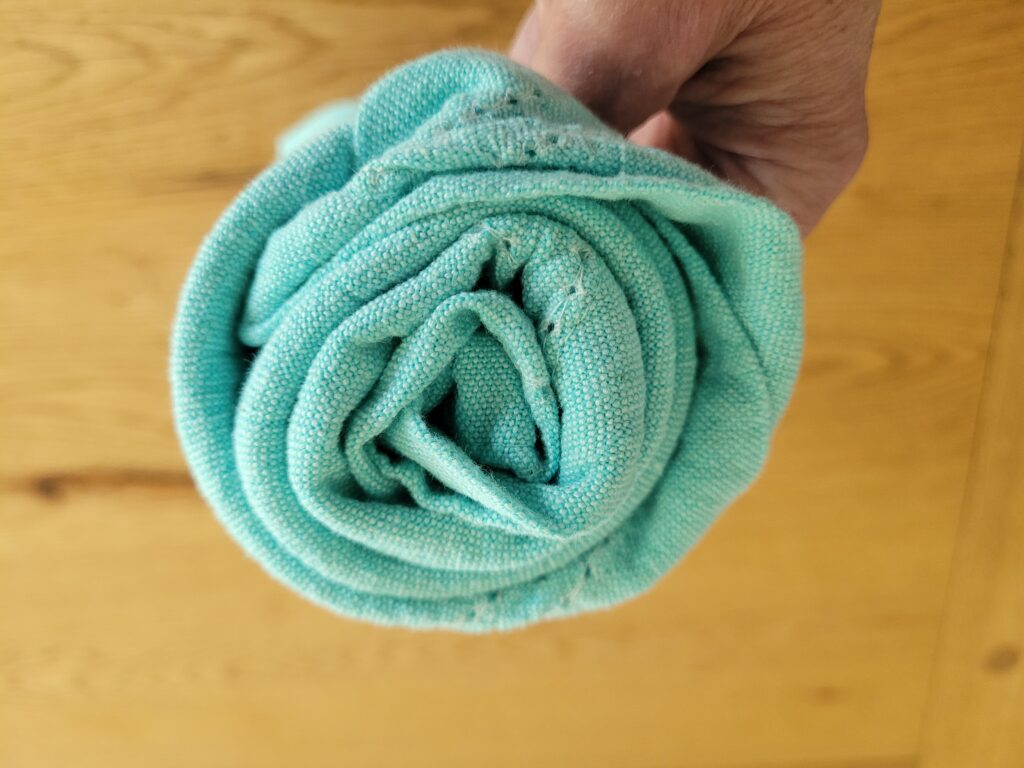
Step 5: Flip it over and pull the tails apart (these become the leaves).
You’ll want to pull them so the actual rose part isn’t sitting on too much fabric. This can make them kind of wobbly. Just play around with it till you get it the way you like it.
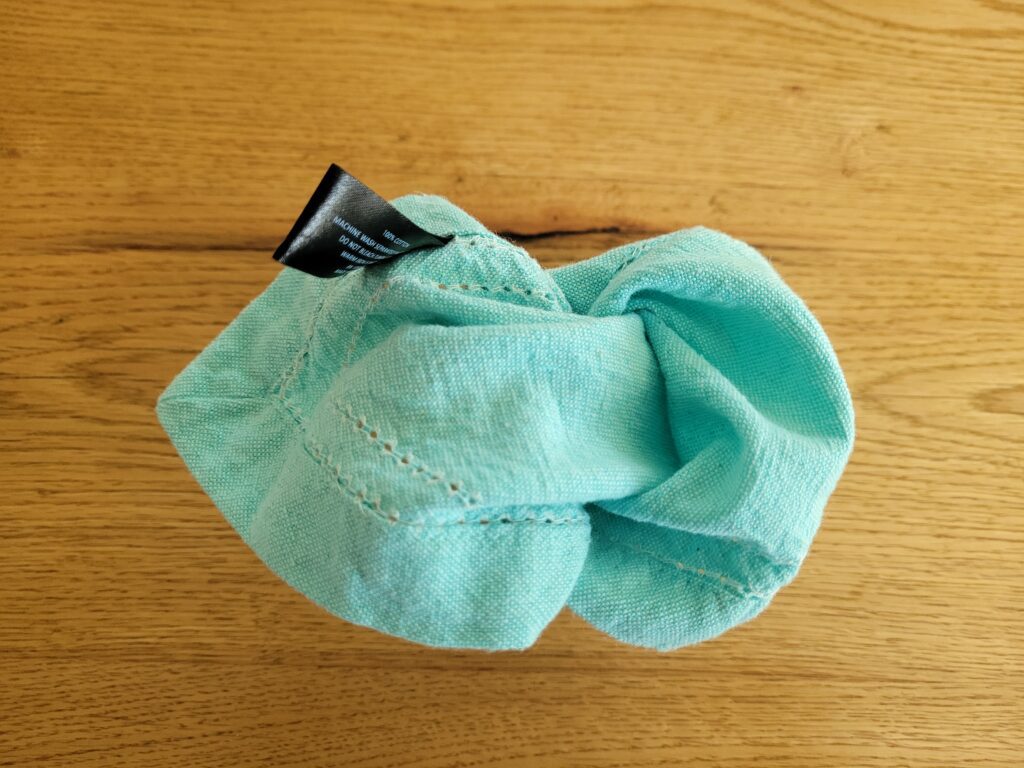
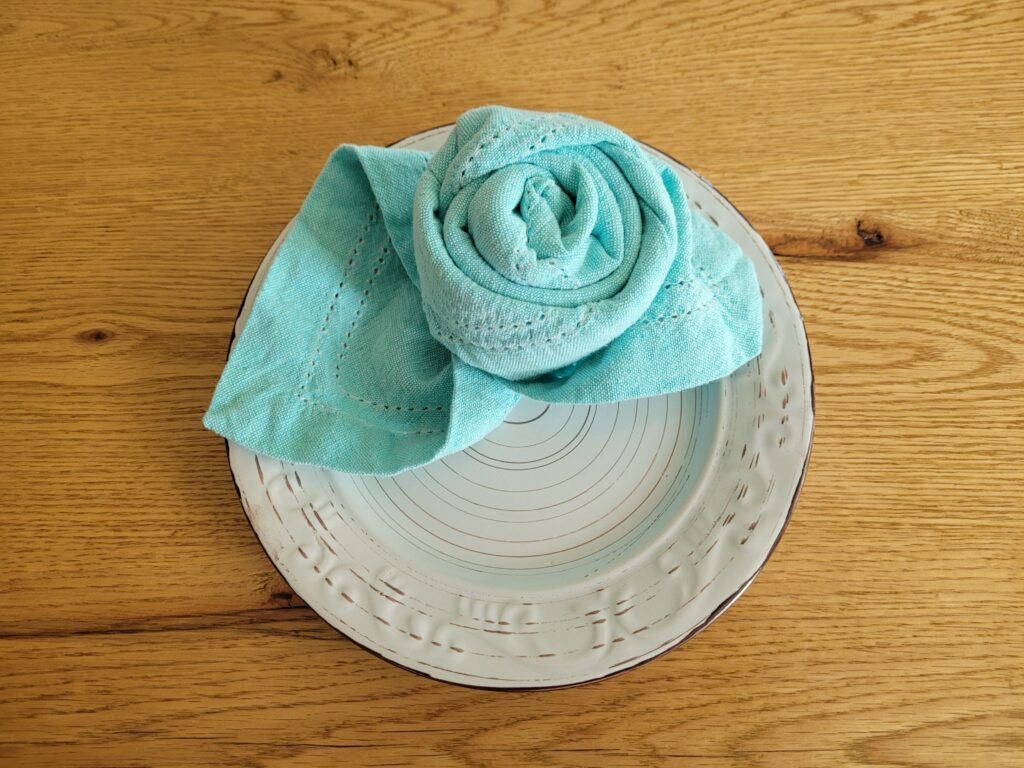
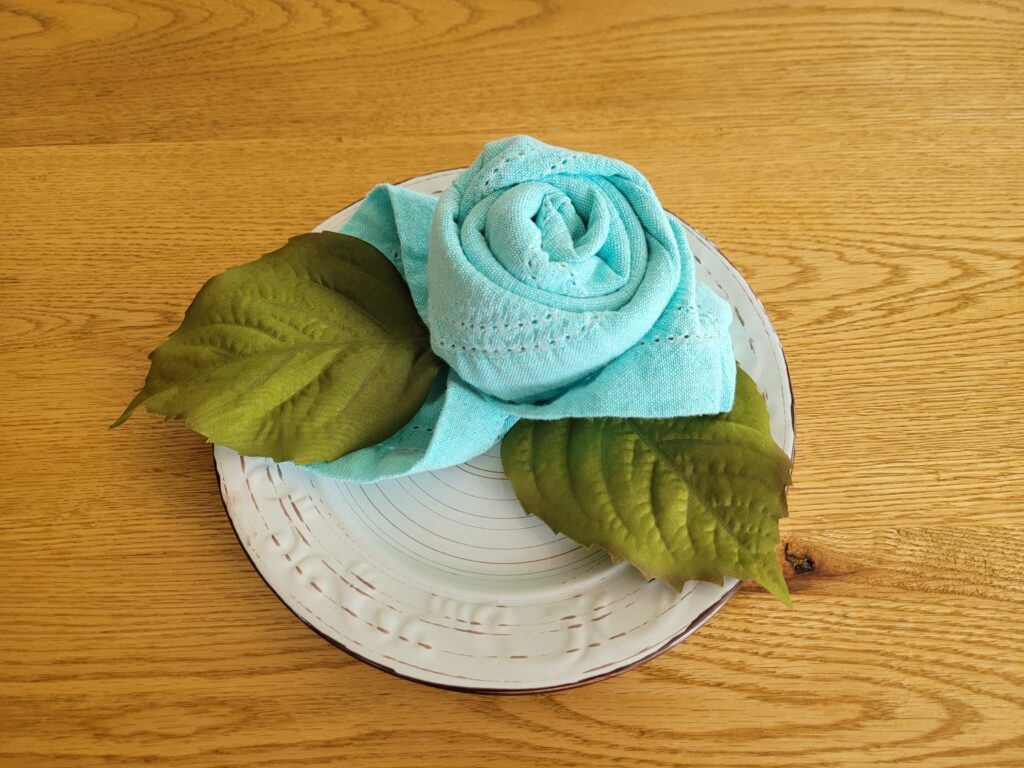
That’s it! I played with these for an hour to get them just right. Try arranging them on a plate, as shown above, in a tea cup, bowl, basket, or even a cake stand. I added some silk leaves I had on hand for an even more organic feel.
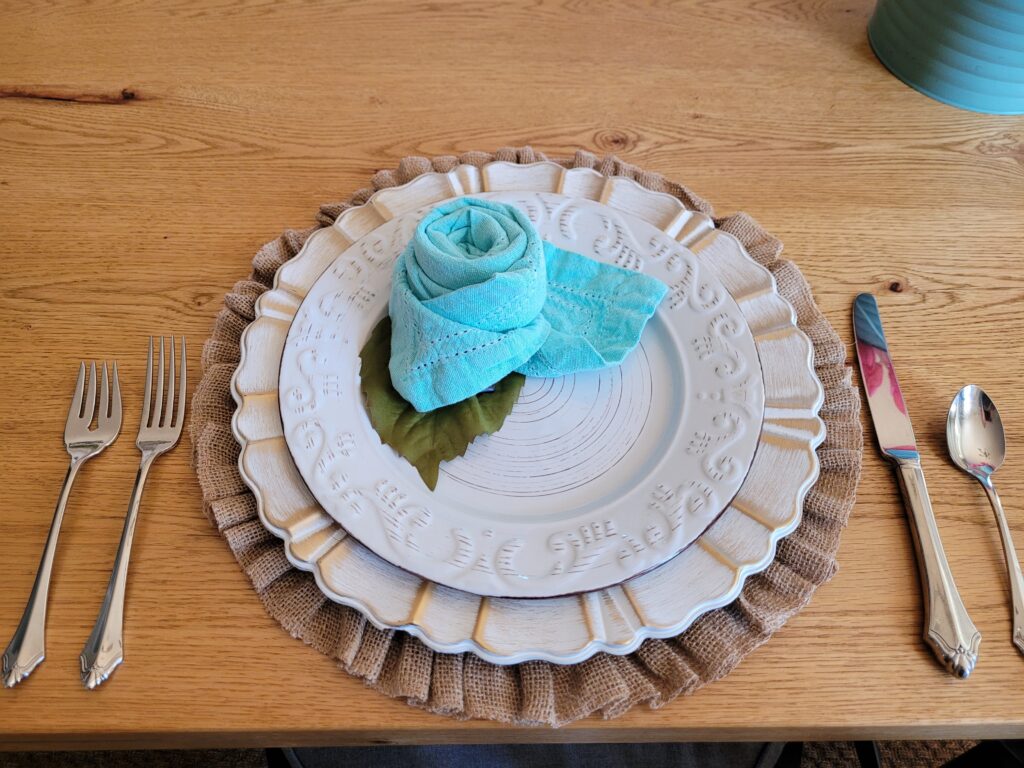
These added just the right amount of panache to my place settings for Easter breakfast this year. They sat like little crowns on a swirly dinner plate set atop an antiqued white charger and frilly burlap placemat. So fun!
Red napkin roses would be perfect at Valentine’s Day – I may try that next year!
If you give napkin roses a try, I hope you enjoy creating them as much as I have.
