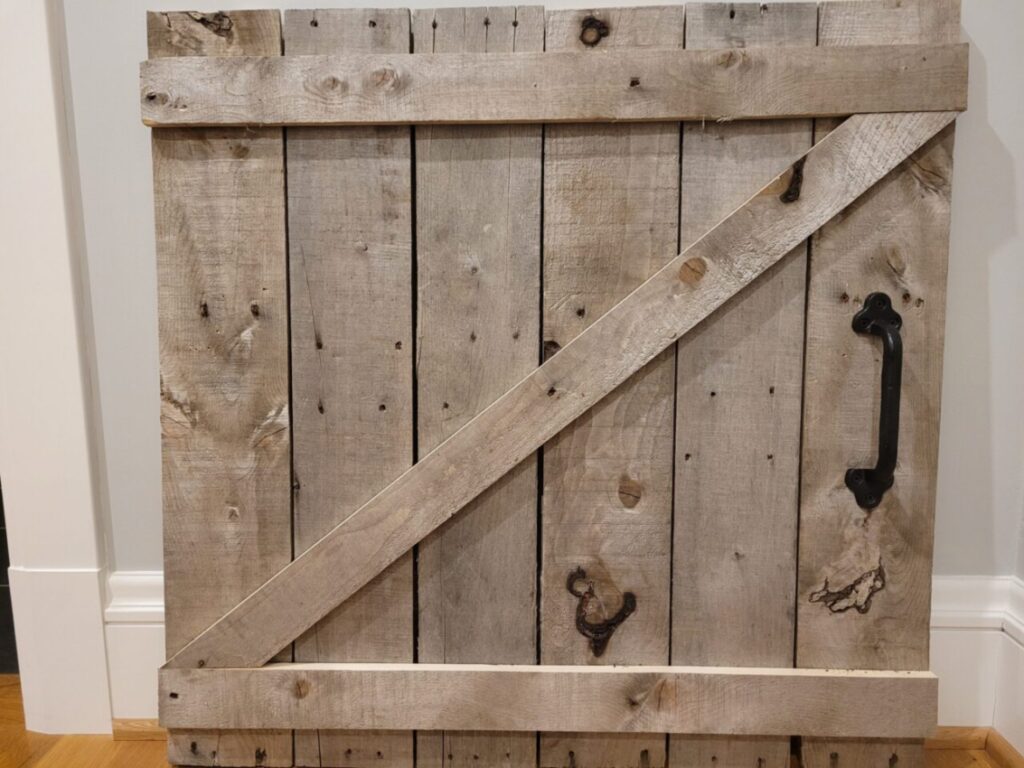
While I wouldn’t refer to our home as a classic farmhouse, I do love the farmhouse look and wanted to add a touch of it to our place. And nothing says farmhouse better than an old barn door!
I had access to a number of old wood pallets left over from the construction of our house and liked the weathered appearance, rusty nails and all. The idea was to craft a decorative wall hanging that resembled a barn door but wasn’t a full-size version.
And while this can be a great project for a woodworking novice like me, I am lucky to have a husband who is an excellent carpenter, so he was enlisted to bring my vision to life. (And I’m sure he appreciated me not trying to use his tools.)
Here’s what we did:
Step 1: Take the pallets apart
First, we disassembled two pallets, which is probably the hardest part of the project. You need to separate the boards from the pallet base, which means prying them apart by the nails. Since many of the nails were protruding through the wood, we used a hammer to push them up. Then we used the forked part of the hammer to pry them out. It’s not unusual for some of the boards to splinter and break during this process, so it’s best to have several boards available to use.
Step 2: Pick and size your boards
Once the individual boards were freed, we selected six that were fairly straight and of even width. (Each one was about five inches across, as I wanted the door to be about 30 inches wide). We then cut them to the length I wanted, which was 32 inches.
Step 3: Attach the boards
Once the boards were ready, hubby nailed them to a couple of pieces of 2×4 on the back to keep them in place.
Next, we used a couple more pieces from the pallet to create the Z brace. We cut them into the right lengths and nailed them in place.
Step 4: Add hardware
The final detail was the handle, which I ordered from Amazon. It’s forged iron and about nine inches long and I LOVE it. It also came in a pack of two so I have an extra one. Hubby used the screws that came with the set to attach it. Next we added heavy gauge picture wire to the back for hanging. Woo hoo – “we” were done!
The whole thing took him just a couple of hours (had it been me, it would have taken longer).
I am still debating about where to hang it – could be in a guest room or my office – decisions, decisions. Wherever it ends up, I know it will look great and I am so pleased with the result. The whole project cost just $15 – the price of the handle. (Prices fluctuate at Amazon, so this may have changed.)
On to the next idea!
Love DIY projects? Check out our post on easy DIY pinecone ornaments!
