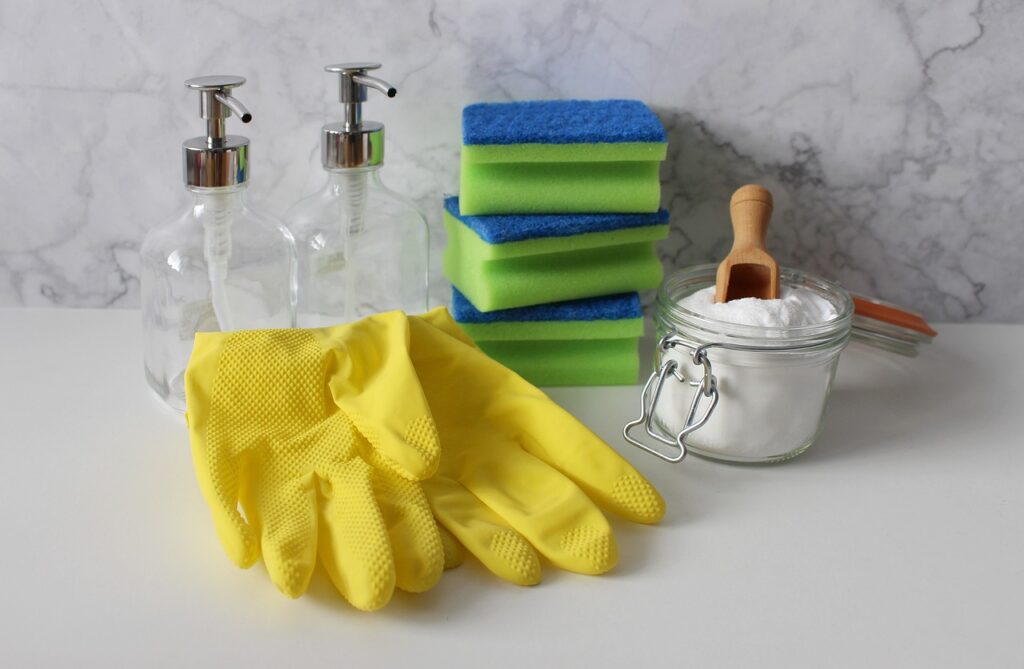
When it comes to cleaning, using the right product can make a world of difference in time spent and overall result. You want something that is effective, safe, and easy to use. The following list includes products I’ve tested over nearly 40 years of cleaning and found to be some of the best around. It’s organized by type of surface (glass, stone, wood, etc.) to make navigating a little easier.
GLASS

Mirrors, windows, and other glass surfaces are a thing of beauty. When clean, they make each room light up and sparkle. When dirty, they impart a dull, unkempt look that’s more depressing than joyful. To keep your glass clean, follow these tips:
Cleaning Solution
1-gallon warm water + squirt of dish soap + ¼ cup white vinegar
Supplies
- Bucket
- Household gloves
- Cotton terry or microfiber cloth
- Newspaper
Directions
- Mix your cleaning solution together in a bucket.
- Wearing your gloves, wet a cotton terry rag (like an old washcloth) or microfiber cloth in the solution and wring it out so it’s damp, but not sopping wet.
- Wipe your glass surface completely, paying extra attention to any stubborn spots. If you’re working with an especially large piece of glass, work in sections, fully finishing one before moving on to the next.
- Dry with crumpled newspaper. I’ve found this provides the most streak-free drying – even better than microfiber – just be sure you don’t use coated newsprint, as it won’t be absorbent and will make drying difficult. Microfiber cloths certainly can be used, if preferred.
- Dump and refresh your cleaning solution when it gets dirty.
WOOD FURNITURE
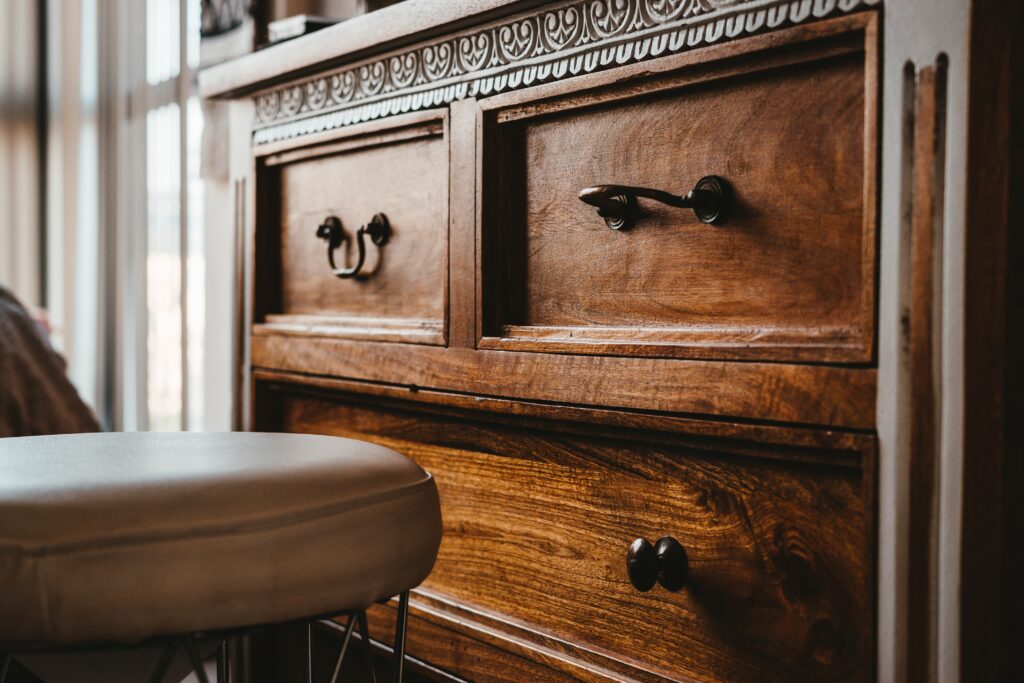
It’s hard to find a home without some kind of “brown” furniture. Keeping it clean and polished will help ensure its beauty and longevity while upping the joy factor in your home.
Daily Wood Polish
Since not everyone has time to make their own furniture polish, I am including a few commercial options. Just keep in mind that commercial sprays can eat away at wood finishes over time and, yes, they contain those pesky chemicals we’re all trying to limit in our homes.
- DIY version: 1 cup olive oil + ¼ cup white vinegar. Pour ingredients into a spray bottle and shake to mix.
- Commercial options: Endust, Guardsman Clean & Polish
Supplies
- Spray bottle (for DIY cleaners)
- 100% cotton or microfiber cloths
Directions
- Spray cleaner onto cloth (not directly onto your wood surface).
- Wipe clean.
- Buff lightly to remove any streaks.
NOTE: If you have painted wood furniture, use the same cleaning solutions and process as described above for glass, just eliminate the newspaper for drying. Instead, dry with a cotton terry or microfiber cloth.
WOOD FLOORS
A slightly different approach is recommended for cleaning natural/stained or painted wood flooring. For these underfoot areas, warm water and a mild detergent will keep things clean. For a clean and polish, vinegar or lemon juice mixed with olive oil does double duty (note: not for painted floors).
Cleaning Solution (all finished* wood floor types)
- Option 1: one-gallon warm water + ¼ cup mild detergent (such as Dr. Bronner’s Castille Soap or Murphy’s Oil Soap)
- Option 2: one-gallon warm water + ½ cup distilled white vinegar
*These solutions are intended for wood that has been finished with some type of sealer (polyurethane, tung oil, paint, etc.). Option 2 is a safe solution for unfinished flooring, but extra care should be taken when attempting to clean these surfaces. It is recommended that you test any cleaners on a hidden corner of the flooring to ensure it does not stain or otherwise damage the bare wood.
Supplies
- Bucket
- For handwashing:
- Household gloves
- Cotton terry or microfiber cloths for washing and drying
- For mopping:
- Microfiber mop (I’m partial to the O-Cedar Microfiber Spin Mop)
Directions
- Always vacuum or sweep and then Swiffer (optional but recommended) first. You want to remove any loose dirt, pet hair, and any other debris before you start your “wet” cleaning. Also, be sure the beater bar on your vacuum is not engaged to avoid scratches.
- Mix cleaning solution in your bucket.
- Dip cloth or microfiber mop into solution and wring it out to remove excess water (it should be damp – not sopping wet).
- Run your cloth or mop in the direction of the wood grain, rinsing it often to remove any debris you pick up along the way.
- Wipe dry with a cotton terry or microfiber cloth.
STONE
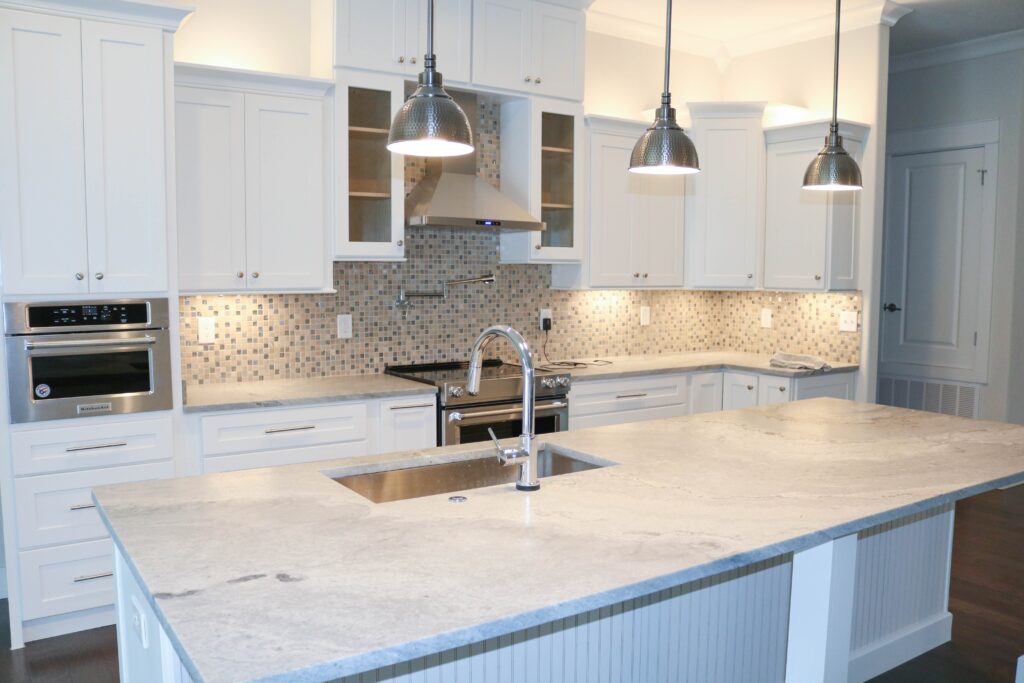
This includes granite, marble, soapstone, limestone, slate, and quartz. Less is more when it comes to keeping these surfaces clean (whether they are countertops, flooring, or shower surrounds). Being gentle is key, to avoid damaging their natural beauty. No abrasive cleaners or scratchy sponges!
Daily Cleaner
- Warm water + mild dish detergent (such as Dawn)
Supplies
- Bucket
- Household gloves
- Cotton terry or microfiber cloths for washing and drying
- Microfiber mop (for flooring, unless you are handwashing, then the cloths above will work)
Directions
- Dip cloth or mop in cleaner and wring out excess water.
- Wipe surface completely.
- Dry with additional cotton terry or microfiber cloths. (When drying countertops, a smooth cotton kitchen towel or flour sack towel also works well. I’m partial to these in my kitchen.)
CERAMIC & PORCELAIN TILE
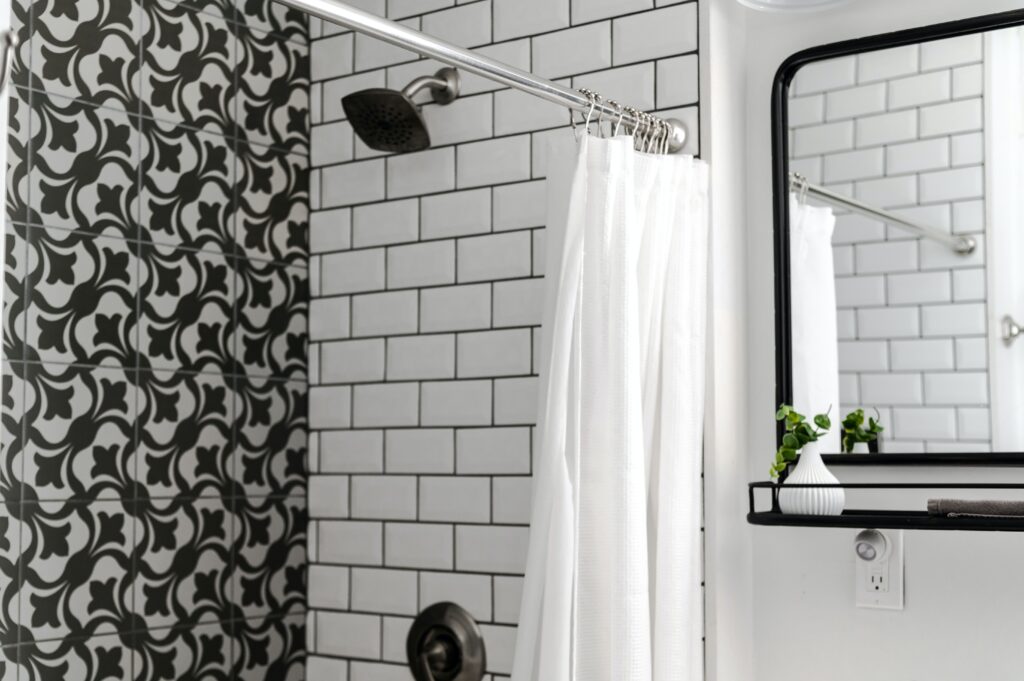
Much like stone, ceramic and porcelain tiles benefit from regular cleaning with mild solutions. Simply follow the same cleaner and process as outlined above in the Stone section. If you’re dealing with significant buildup on these surfaces – like soap scum in a shower – a more intensive approach is needed; see the deep cleaner and instructions below.
Deep Cleaner
- 1-cup baking soda + ¼ cup white vinegar
(Commercial cleaners are also available. I’ll admit to using Kaboom in a pinch, but this mixture works great and it’s chemical-free, so it’s my go-to.)
Supplies
- Bucket
- Household gloves
- Sponge or microfiber cloth
- Soft bristle scrub brush (for tougher areas)
- Microfiber cloth for rinsing and drying
Directions
- Mix the baking soda and vinegar together in a bowl to make a paste.
- Using your sponge or microfiber cloth, apply the paste to your tiles.
- Let the paste sit for 10-15 minutes.
- For tough buildup, dip a soft bristle scrub brush in warm water and gently scrub the tiles. For less intense cleaning, just wipe the paste off with a clean, damp sponge or cloth, using a bit of scrubbing pressure where needed to remove buildup.
- Rinse thoroughly and dry with a clean microfiber cloth.
WRAP UP
I hope you find these tips helpful. Everyone has their favorite cleaners and techniques – these just happen to be the ones that I find myself coming back to over and over again. The important thing is to find the ones that work best for you and bring out the joy in your home!
Ready to put your new cleaners to work? Check out this post on 3 Steps to a Clean House.
If you’re reading this around the holidays, there’s more to explore in how to Get Your House Holiday Ready.
