Just because it’s winter doesn’t mean we need to stop gardening altogether. One of my favorite activities this time of year is crafting arrangements in my outdoor pots. This usually takes place around Christmas, but I keep the arrangements up all winter for some seasonal interest and a much-needed splash of green during these cold and frequently-gray days.
You’ll need a few things for this project:
- A winter-proof outdoor pot
- Armature (described below)
- Pot filler (I use a combination of bricks/rocks/pebbles and soil)
- Winter greenery
- Decorative elements (optional)
Arrangements can be as simple or dramatic as you like. Just remember, the more dramatic, the more you’ll need to pay attention to the armature or “skeleton” of the design to ensure it stays in place.
Choosing the right pot

This is important, particularly in climates that experience freezing and below freezing weather combined with rain and/or snow. You’ll want a pot that can withstand freezes, as freezes can make the contents in your pot (like soil) expand. Expansion can lead to cracks (trust me, I’ve ruined more than one pot this way).
The best materials for winter pots are fiberglass, cast stone, metal (like steel and iron), and heavy-duty plastics. There are no guarantees against cracking (or rusting in the case of the metal options), but these materials are known to be much more frost proof than delicate materials like clay and terra cotta.
Armature
When I first started creating winter planters, I didn’t pay much attention to the skeleton of the design, which was a big mistake. Without a framework for support, it’s at risk to fall apart with the first bump or breeze. These days, I may spend as much time (if not more) on developing the armature as I do on the actual arrangement. Once it’s done, I want it to stay put!
Some materials I use for my armatures include bamboo or wooden stakes, zip ties, chicken wire, and floral foam. Most residential winter pots won’t require too much foundational development unless you plan to get fairly elaborate.
Filling your pot
It’s very important to consider your design before dumping a bunch of filler in your pot. If you’re planning something simple, like a small balsam or spruce in a pot, then potting soil (or really any kind of garden soil) will suffice for the filler. On the other hand, if you’re design is more involved, say some tall birch logs centered in a pot surrounded by a ring of fluffy evergreen branches, then you’ll want to create a support system inside your pot before adding any fillers.
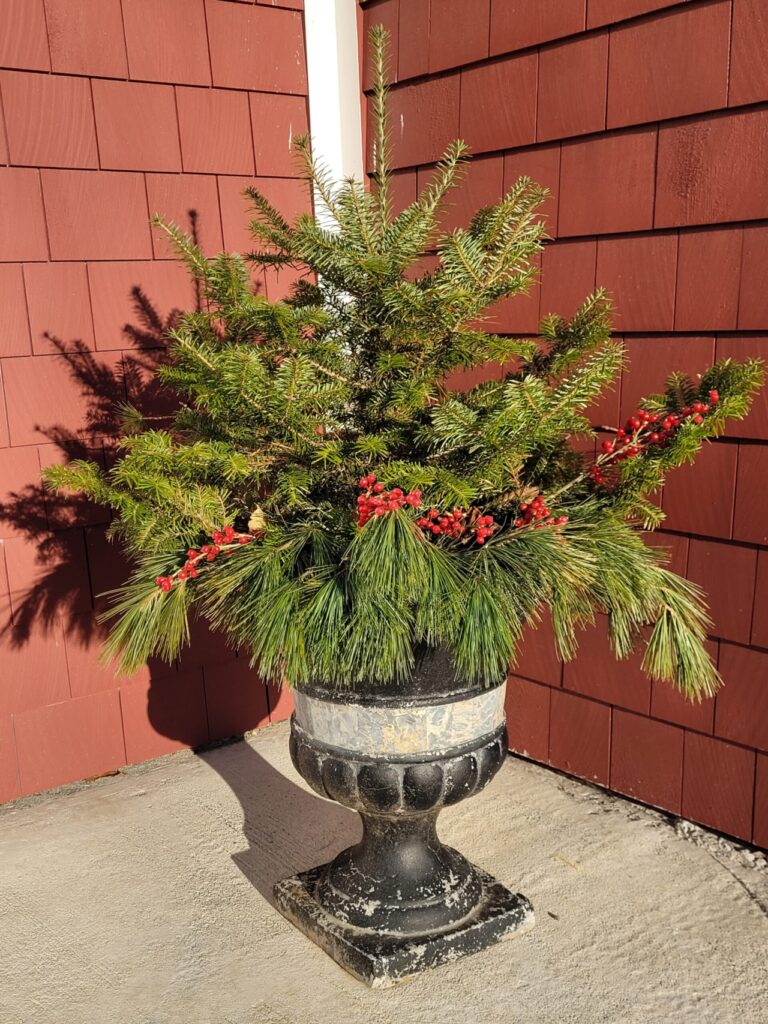
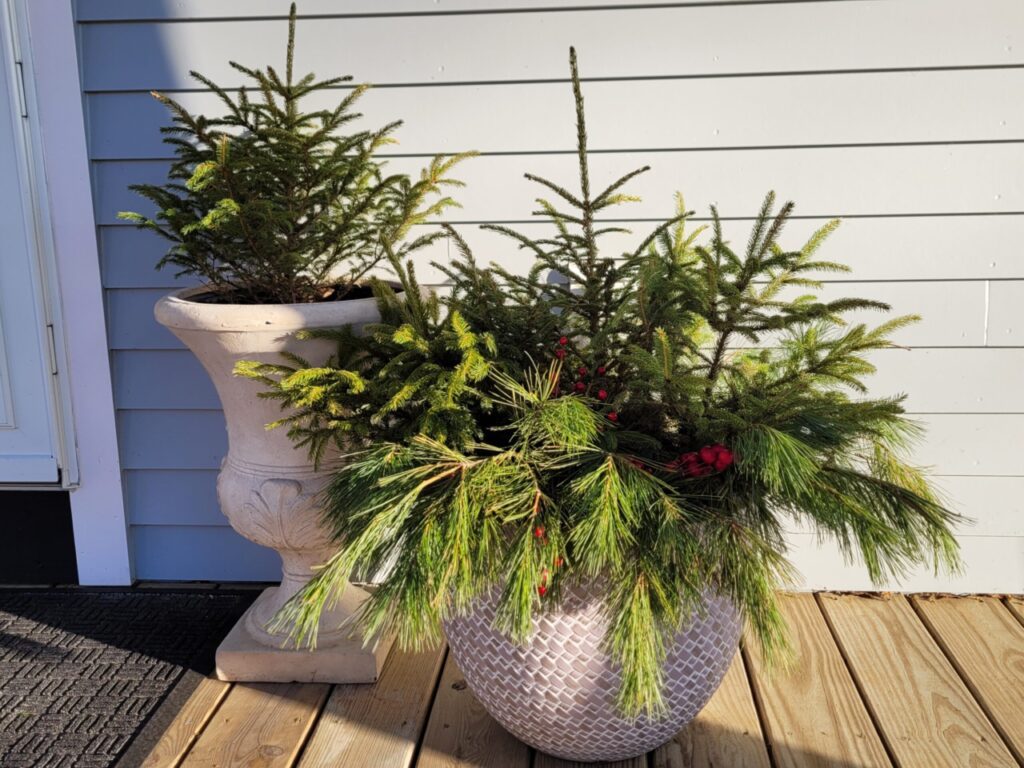
I typically do a combination of garden urns and pots. A single, small balsam or spruce cut from our woods go in each of the urns with a mix of white pine and balsam branches surrounding the base. Because the overall design is a manageable size, I can get away with just sticking the trunk of the main evergreen in the soil and then doing the same with the branches. I move things around till I get the desired effect and let them freeze in place.
My larger pots get a similar treatment, but with three balsams or spruces each. I’ve also been known to use bricks on the bottom of my larger plastic pots. This aids in weighting the pots down so they don’t blow over, adding drainage, and eliminating the need to use so much soil.
Just know that once your pot is full, it will be heavy and difficult to move. One option is to work on it in the spot where it will be displayed, avoiding the need to move it once it’s full. This works well in warmer climates, but in cold areas like mine, that option is not as practical (think: frozen fingers). Our solution is to prep as much of the design in our workshop (which is heated) as possible, then do the assembly outside in the area where the pot will be throughout the winter.
Winter Greenery

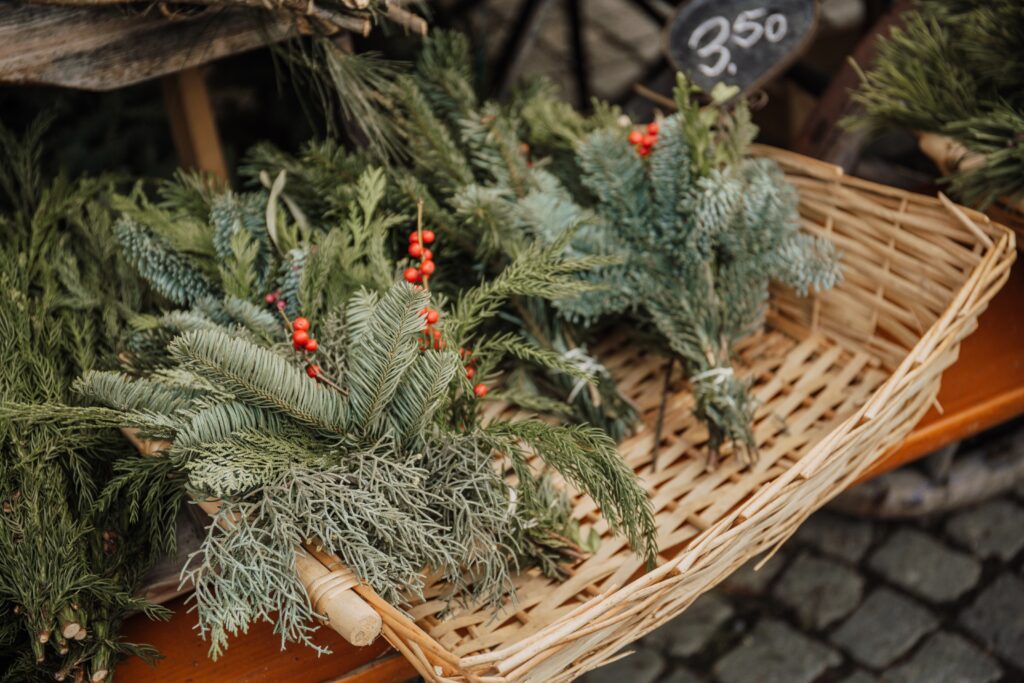
One of the wonderful things about this project is that you can use any kind of greenery you like. Evergreens, of course, are the most popular choices, but don’t forget about nature’s other winter beauties: fiery red dogwood branches, gleaming white birch, and curly willow make amazing additions and add textural contrast to the greenery.
Where you live can also drive what materials are available to you. Here in Maine, we have lots of white pine, balsam, spruce, hemlock, and birch, so those are well-represented in my winter pots. Cedar and boxwood are two of my other favorites, but we simply don’t have enough onsite to use – if you do, good for you, those are highly recommended! Further south, the leaves of the magnolia tree are fabulous for winter décor.


To keep your greens fresh, soak them overnight in a bucket or tub of clean water, submerging the entire branch, not just the stem end. We take just-cut evergreens and branches and immediately get them in water. The soak helps hydrate the cuttings, keeping them green and healthy-looking longer. If you bought some pre-cut greens, be sure to give them a fresh cut right before soaking. This helps ensure the branches and/or trees are able to absorb the water.
Decorative elements

Add your personal signature to your arrangements with any number of decorative elements. Berries, pinecones, ribbon, and bells are just a handful of ideas. If you decide to use real berries, like those from the winterberry or nandina shrub, be sure to treat them with an anti-dessicant first. Anti-dessicants like Wilt-Pruf help guard against the berries drying out, turning black, and falling off. There’s no guarantee that you won’t lose berries, but it is known to help. To make things easier, I opt for weather resistant, artificial berry sprays that I reuse each year.
(To add a little glitz to pinecones for your winter planters, check out our post on DIY pinecone ornaments.)
The key to adding decorative elements is continuity. It should look and feel harmonious, not haphazard. Repeating the same elements across arrangements results in a display that is cohesive and pleasing to the eye.
Most important is to have fun with it. Don’t worry if your first attempt or two doesn’t yield the best result. That’s all part of the process! Give yourself time to practice and before you know it, you’ll be dazzling the neighborhood with your festive winter planters.
Happy outdoor decorating!
