
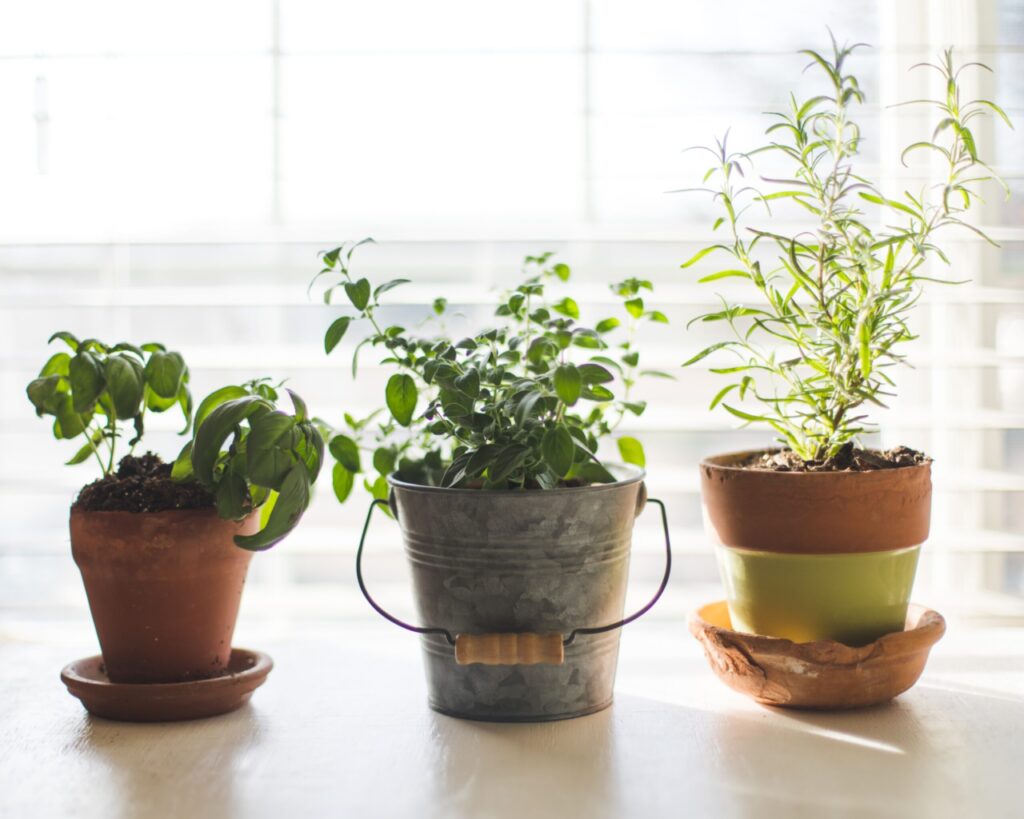
During our cold Maine winters, outdoor gardening generally comes to a halt, which can be tough if you love growing your own fruits, vegetables, and herbs. To get through the winter, I take to growing herbs indoors. It’s a great way to stay in the gardening rhythm and fresh herbs make such wonderful additions to soups, stews, and any variety of dishes.
Some herbs, like cilantro, are easy and fast to grow from seed. Other woodier varieties, like rosemary and sage, are better started from a cutting or by purchasing a live plant at your local grocery store or farmer’s market.
Either way, get a pot large enough to accommodate expected root growth until it’s time to transplant into the garden. Generally, a pot that is four to six inches in diameter and at least four inches deep will work. You can also opt to keep the plant indoors indefinitely. If this is the case, ensure your pot is big enough for a mature plant, or if you want to keep it small, just be prepared to divide it when it gets too big or prune the roots. (You can learn more about managing plant size by reading this article on gardening.org.)
What you’ll need:
- Seeds, cuttings, or a live plant
- Rooting powder (if you’re using cuttings)
- Pot
- Potting soil
- Fertilizer
Prepping your pot
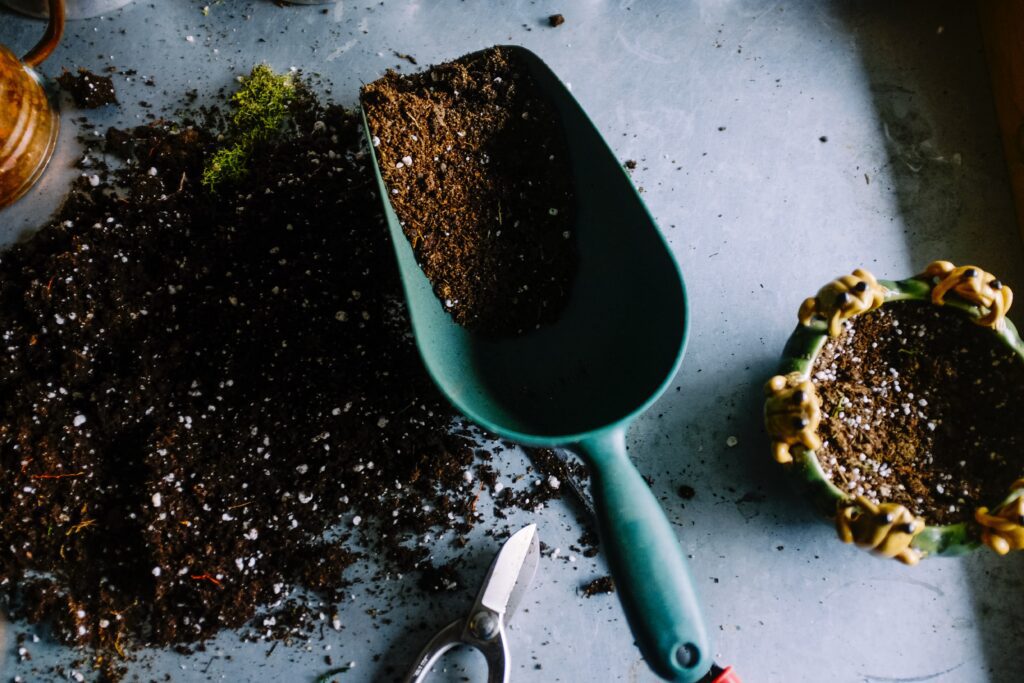
Choosing the right pot can be both fun and frustrating – so many choices! I generally opt for either a plastic pot that will sit in a more decorative container or a ceramic pot. The air in my house tends to be very dry in winter, so plastic and ceramic help keep water from evaporating too quickly. I will say, however, that wet soil is the enemy of herb plants. They do not like wet feet, so be careful not to overwater (more on that below) when using pots of these materials, as the pot itself will not wick water away from the soil. I love clay and terra cotta, but they can absorb a lot of moisture, so you need to keep an eye on herbs planted in these pots to ensure they don’t dry out too quickly, especially in winter.
With your pot selected, fill it with a good quality indoor potting soil. Regular garden soil is too heavy for herbs. If that’s all you have on hand, amend it with some perlite to loosen it up. Soils designed for succulents are also a good choice for herbs. I like to leave at least an inch of space from the rim of my pot to the top of my soil. For larger pots, I’ll leave more space. This helps prevent overflow when watering.
Once you’ve added the soil to the pot, water it in a bit. You don’t need to flood the soil, but moistening it will help you see how much it sinks down in the pot before you plant. You may determine that you need to add more soil to get it to the right level in your pot.
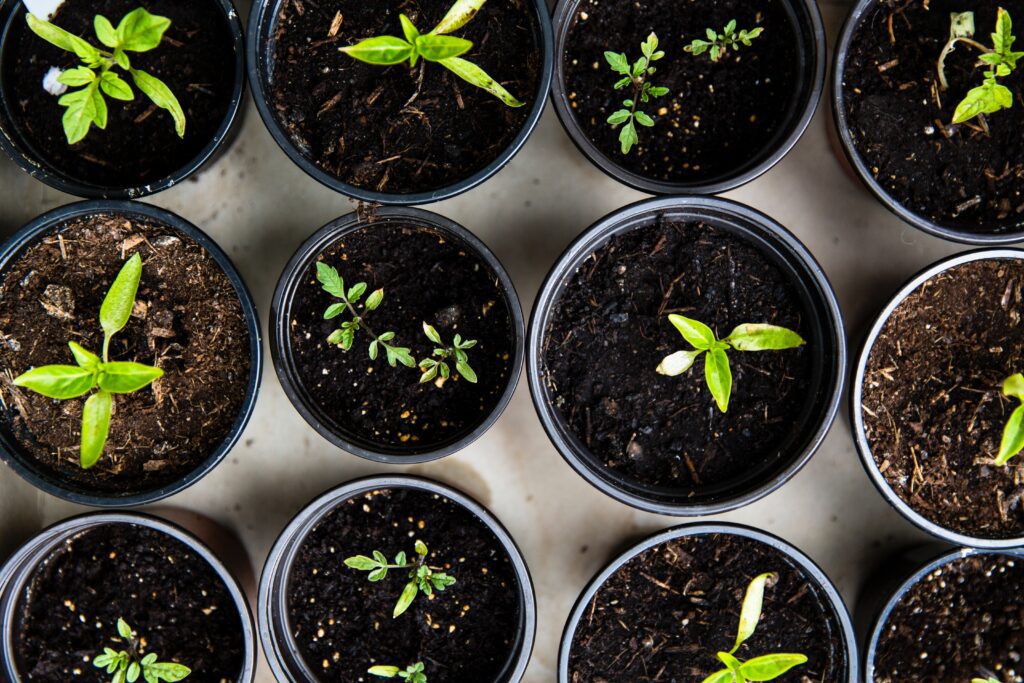
Planting

With the right amount of soil added and moistened, it’s time to plant. Follow the instructions on your seed packet for the proper planting depth. For cuttings, you’ll generally want about a six-inch cutting that isn’t too woody or stiff – it should be flexible. Strip all but the top couple inches of leaves from the stem and dip the bottom in rooting powder (also called rooting hormone). Then just stick it in your soil all the way up to where the leaves start.
Take care when watering your newly planted seeds or cuttings to avoid disturbing their placement in the soil. Misting the soil with a spray bottle filled with water will keep them moist and help them stay put until they begin to sprout and grow roots.
Germination
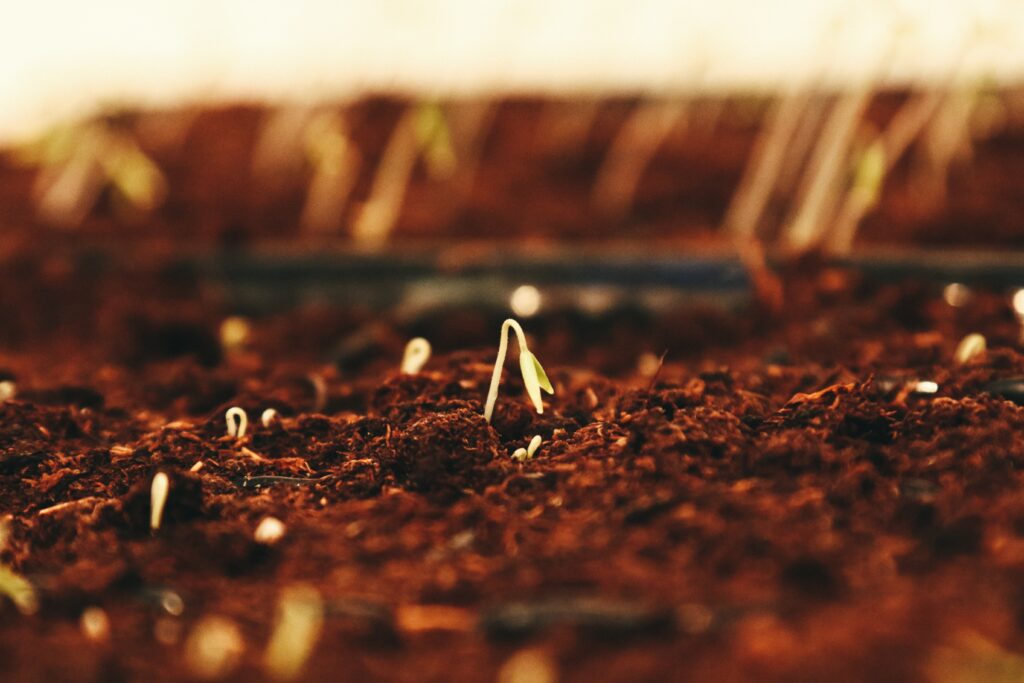
Seeds need warmth and moisture to germinate. They really don’t need sunlight until they emerge from the soil. A warming mat is a great way to ensure a consistent temperature during this period. You can also put a piece of plastic wrap over the top of your pot so that it acts like a mini greenhouse. Poking a few holes in the plastic wrap will allow it to breathe and limit condensation buildup.
Sunlight
Once your seeds begin to sprout, it’s time to remove them from the warming mat, toss the plastic wrap (if using), and put them in the sun. A sunny, south-facing window is a great choice. Herbs like temperatures between 65°F and 75°F and they need 12-14 hours of sunlight daily. This can be tricky during the dark days of winter, so supplementing natural sunlight with a grow lamp is super helpful. You’ll know if your herbs aren’t getting enough sun when they start to look kind of leggy. If you’re planting basil, it’s important to note that it won’t tolerate temperatures below 70°F, so be sure to give this fussy lady the warmth and sun she craves.
Watering

Take care when watering your herbs. You want the soil consistently moist during the germination phase and when the sprouts are just beginning to grow and become established. The soil should never be soggy, though, as this can lead to root rot. Once you have plants growing, the top inch of soil should be allowed to dry out between waterings. You can check your soil by sticking your index finger in it up to the first joint, about an inch. If it’s dry, go ahead and water. If it’s still moist, hold off another day and check it again.
Fertilizing
Fertilizing is also important for indoor herbs – just don’t overdo it. Better to under-fertilize than over-fertilize. I use a fish emulsion fertilizer that I mix to about ¼ of the recommended strength. Warning: it smells awful, really awful. The smell does go away, and it works great, but you may want to opt for something less offensive and go with a traditional fertilizer designed for indoor plants. In either case, use a weakened solution and fertilize every other week while your plant is actively growing. You can taper down to monthly once you have an established plant.
I hope you enjoy giving indoor herb gardening a try. It’s a fun way to add some wonderful flavors and aromas to your cooking and these beautiful little plants are just that touch of nature we all need during the winter months.
Happy gardening!