After the first bite of these decadent treats, I knew I’d be making them for years to come…and I was right!
Love cookies and brownies? Check out our Favorite Brownie Recipe and the best Pumpkin Chocolate Chip Cookies!
Seventeen years later and I have made them at least once a year, sometimes more, but always at the holidays. They’re on the richer side, so they’re perfect when it’s cold outside. We love them with a hot cup of tea or coffee – or hot cocoa if you’ve really got a sweet tooth!
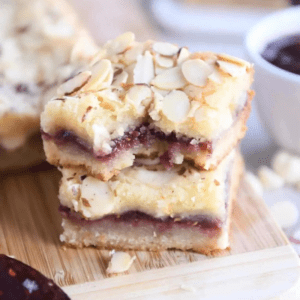
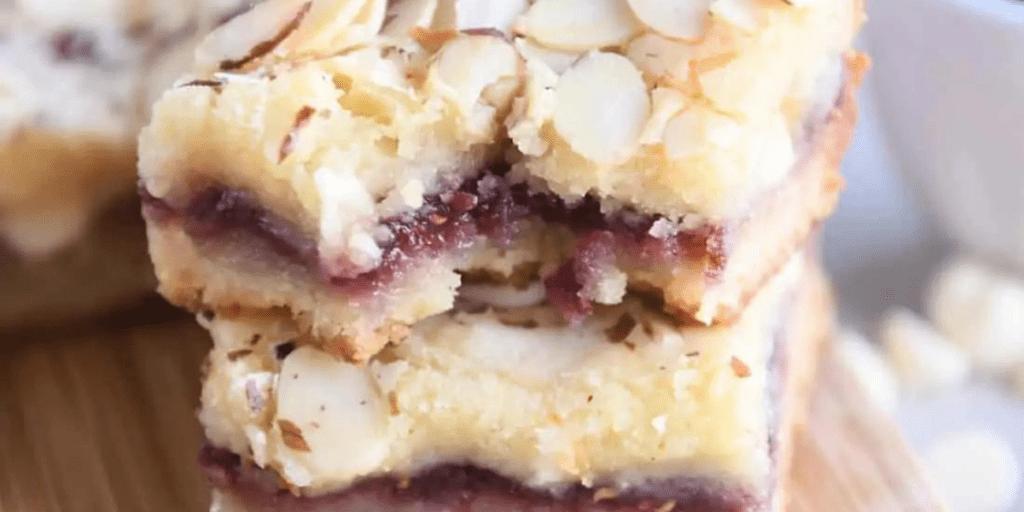
They even look like winter. The white chocolate chips and coconut remind me of snow and the bright red cherry filling looks like winter berries. I can almost hear the sleigh bells ring…but back to the blondies!
Created by a mother-daughter team of champion bakers, this recipe was a big winner at the State Fair of Texas back in the early 2000’s. It appeared in a 2006 issue of Southern Living, though I was unable to find it on the SL website (they should definitely pull it from the archives and add it!).
The bars start with a blondie layer you partially bake. Then you add a layer of melted cherry preserves and top it with the rest of the blondie batter mixed with coconut flakes and white chocolate chips. Sprinkle the whole thing with sliced almonds and then bake it for about 25 minutes.
Once they’re done, let them cool completely before slicing into bars. This is an important step, as you want everything set and firmed up before taking a knife to them. Plus, they taste best when cooled completely.
Store them in a clear glass cookie jar for a festive look. Or, if you’re serving them at a party, arrange them on pretty platter or add them to a dessert-style charcuterie board.
But the best way to enjoy one of these gems is to sit back with a hot beverage and watch the snow fall (or you can just pretend snow is falling!).

Cherry Filled White Chocolate Blondies
Ingredients
- 1/2 cup unsalted butter
- 1 12 oz. package white chocolate chips, divided
- 2 large eggs
- 1/2 cup granulated sugar
- 1/2 tsp. almond extract
- 1 cup all-purpose flour
- 1/2 tsp. salt
- 1/2 cup cherry preserves like Bon Maman
- 1/2 cup sweetened flaked coconut
- 1/2 cup sliced almonds
Instructions
- Grease and flour an 8- or 9-inch square pan and set aside. (You can also spray it with a non-stick spray that includes flour, like Pam Baking Spray.)
- In a medium sauce pan, melt the butter, stirring just until melted. Remove the pan from heat, and add 1 cup of the white chocolate chips. (Do not stir).
- In a large bowl, beat the eggs at high speed with an electric mixer 2 minutes or until foamy. Gradually add the sugar, beating until blended. Stir in the white chocolate mixture and almond extract until blended. Add the flour and salt, stirring just until blended. Spread half of the batter in the prepared pan.
- Bake at 325℉ for 20 minutes or until light golden brown, then remove from oven.
- Melt the cherry preserves in a small saucepan over low heat, stirring often. Spread evenly over the partially baked blondies in the pan. Stir together the coconut, remaining white chocolate chips, and remaining batter. The mixture may be stiff, which is fine. Dollop over melted cherry preserves and gently spread to edges of pan (see Note).
- Sprinkle the sliced almonds over the batter, gently pressing them in.
- Bake at 325℉ for 25 minutes or until lightly browned. Cool completely in the pan on a wire rack, then cut into bars.
Notes
- Use the highest quality ingredients possible for these bars – it makes a difference! We use Nestle Premier White Morsels or Ghirardelli Classic White Premium Baking Chips, Bon Maman or Trappist cherry preserves, and Baker’s sweetened coconut flakes.
- You can use an 8- or 9-inch pan, though the baking times assume an 8-inch pan. If you go with a 9-inch pan, you may need to reduce the baking time.
- Feel free to substitute different preserves for the filling. Apricot, raspberry, and strawberry are all wonderful, too.
- The second layer of batter (mixed with the chips and coconut) will probably be on the stiff side and may not easily spread over the cherry filling. Dollop the batter all over the filling, then use an offset spatula or butter knife to “connect the dots.” Don’t worry if they’re not completely connected and don’t fully reach the edges, they’ll spread once in the oven.
- These bars taste best when cooled completely, so be patient! They also need that cooling time to set up so they hold together nicely when you go to pick them up.
